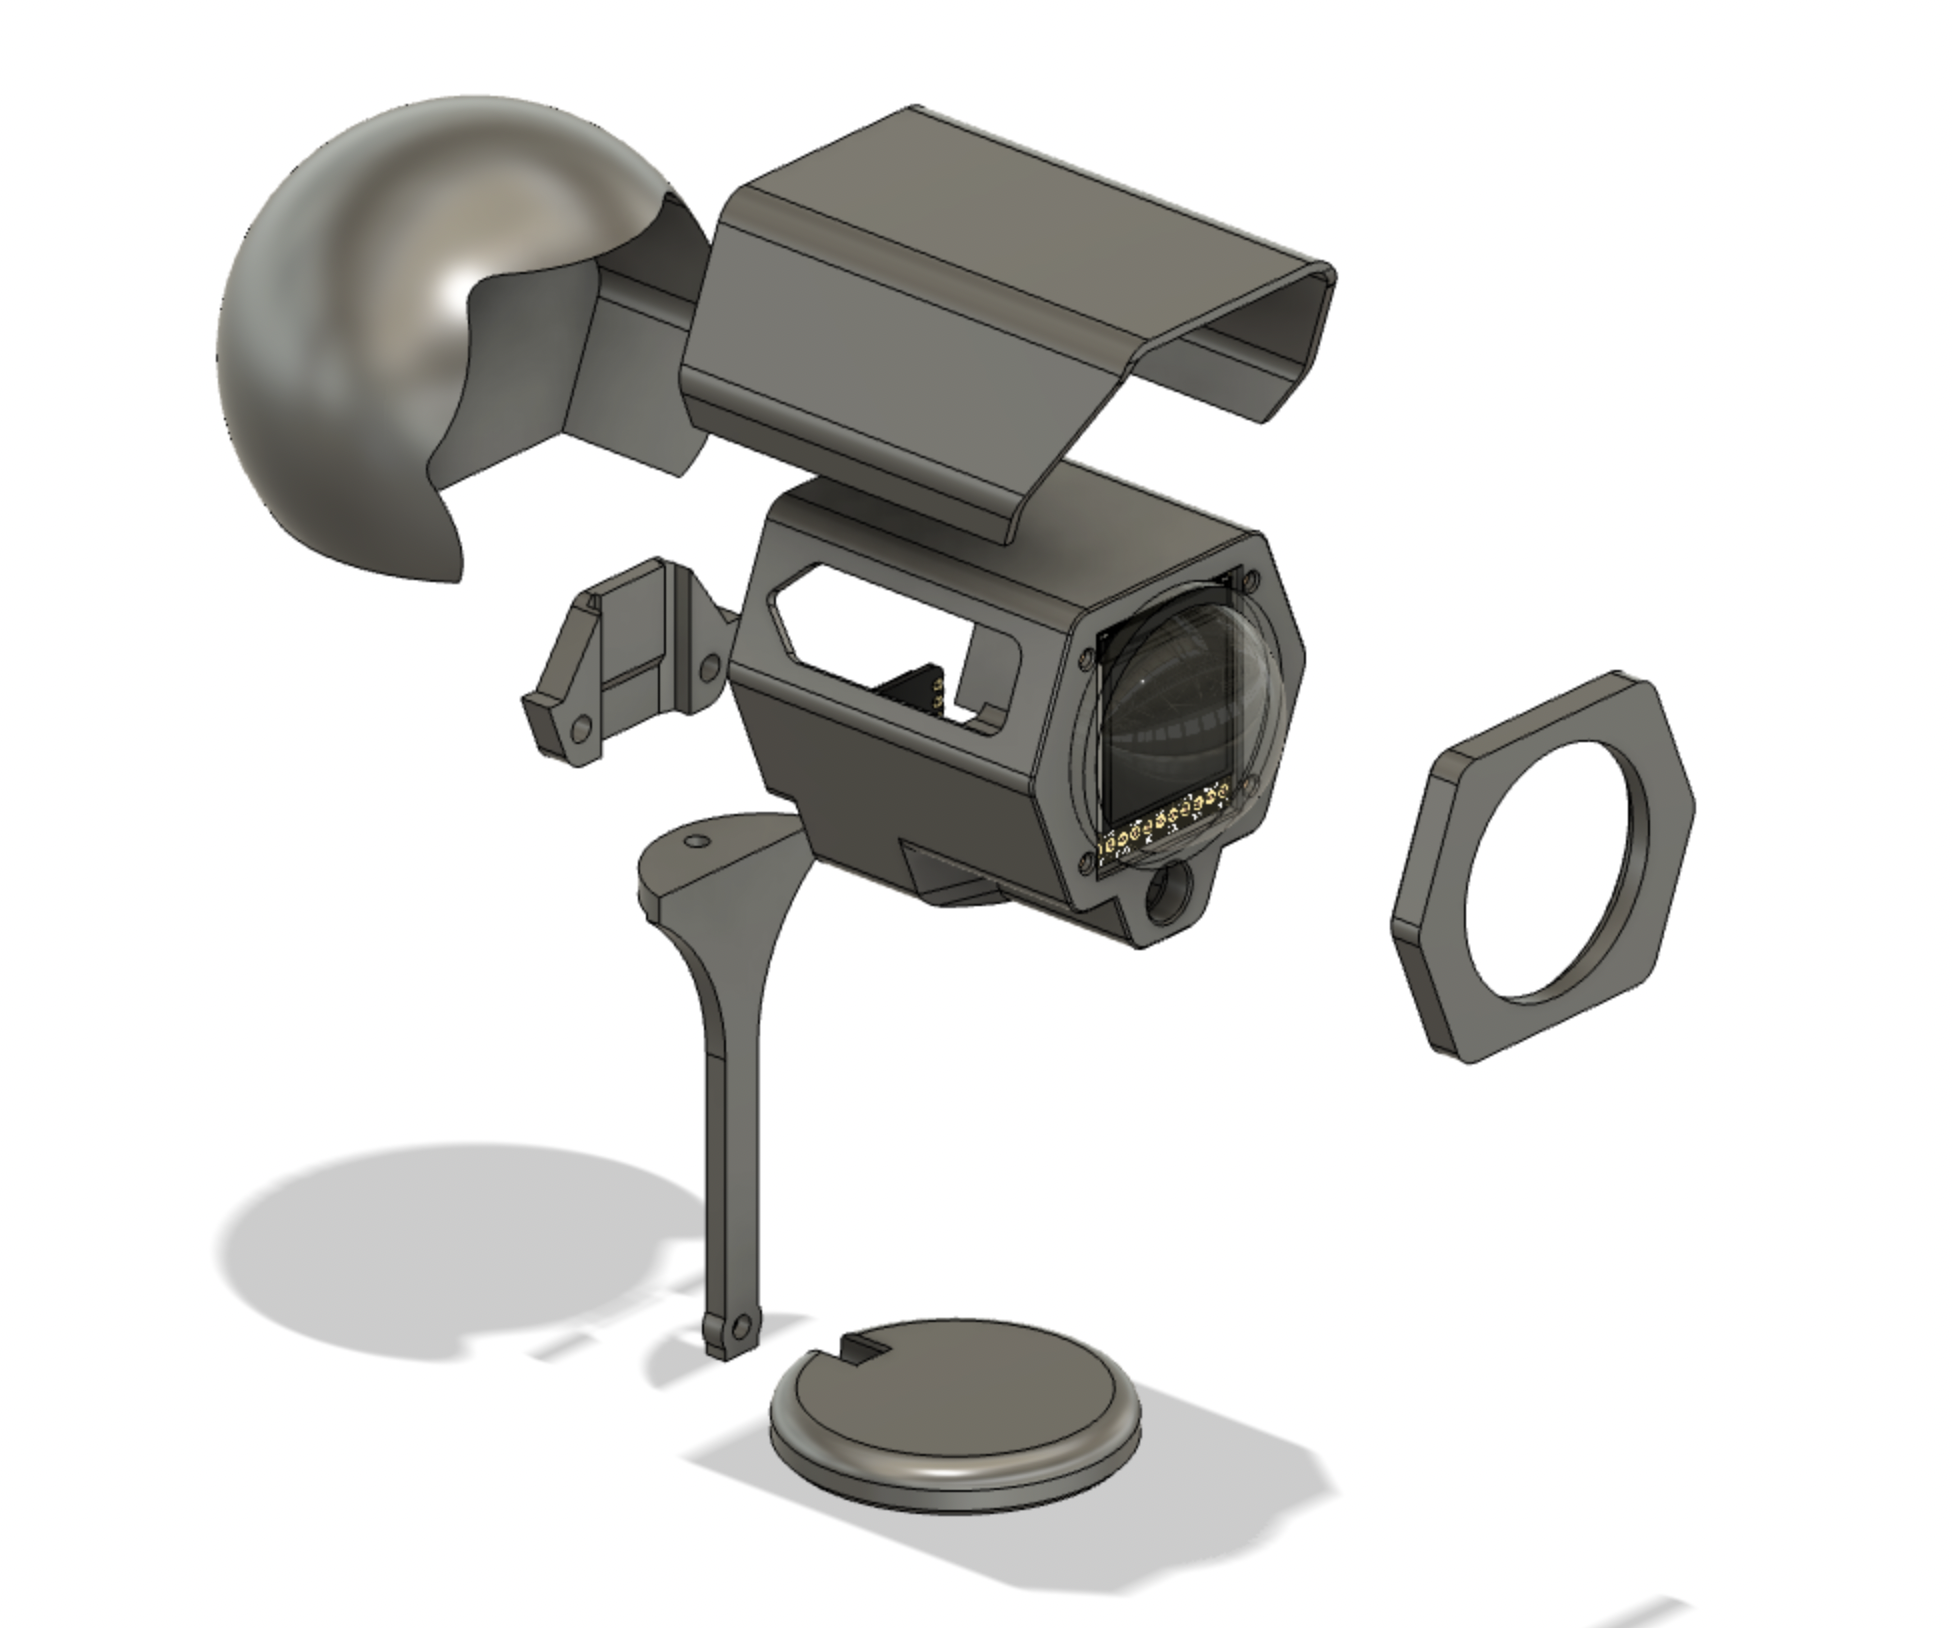
WEEK 4

Finish

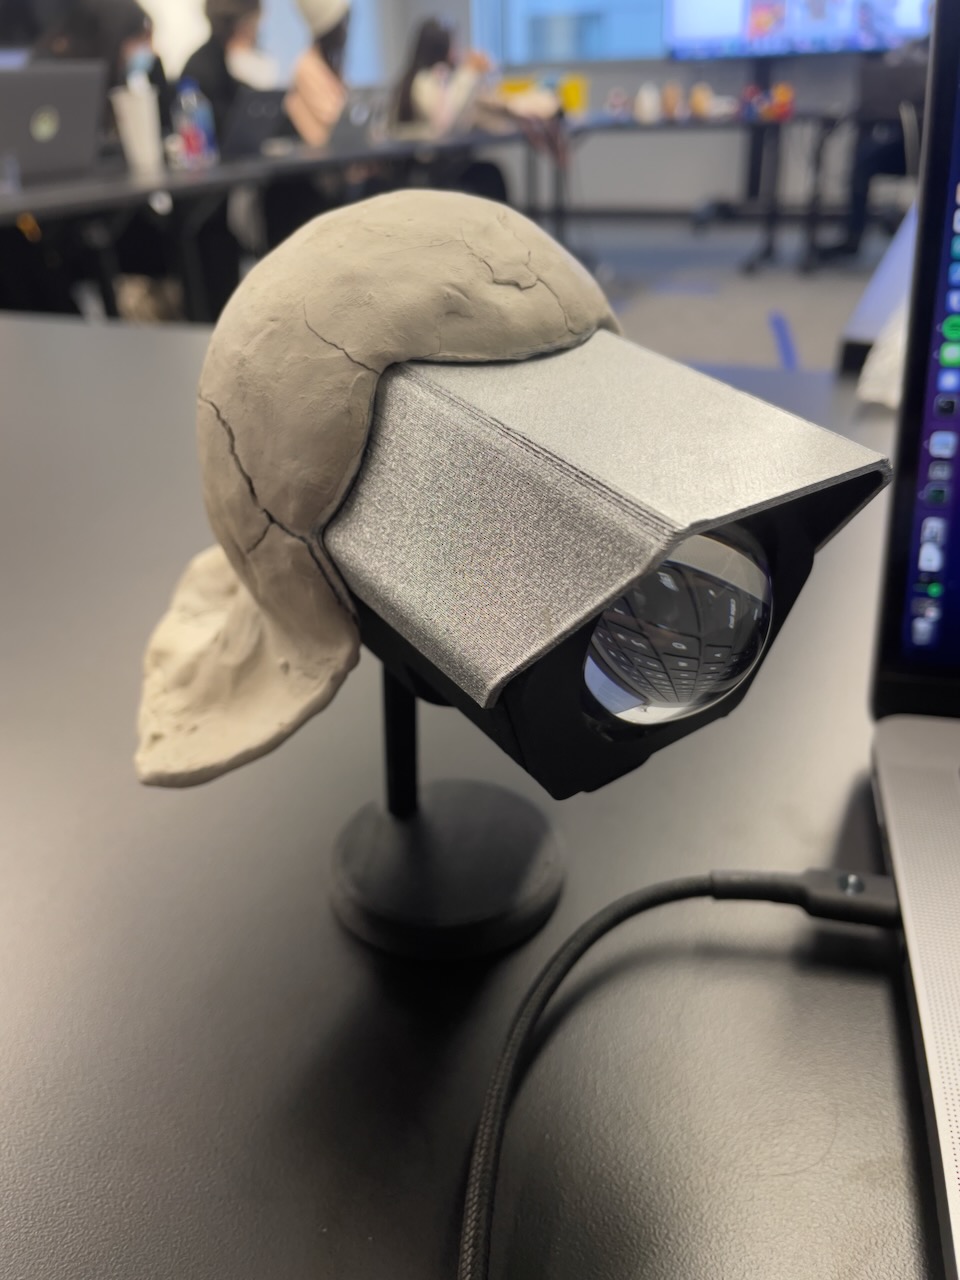
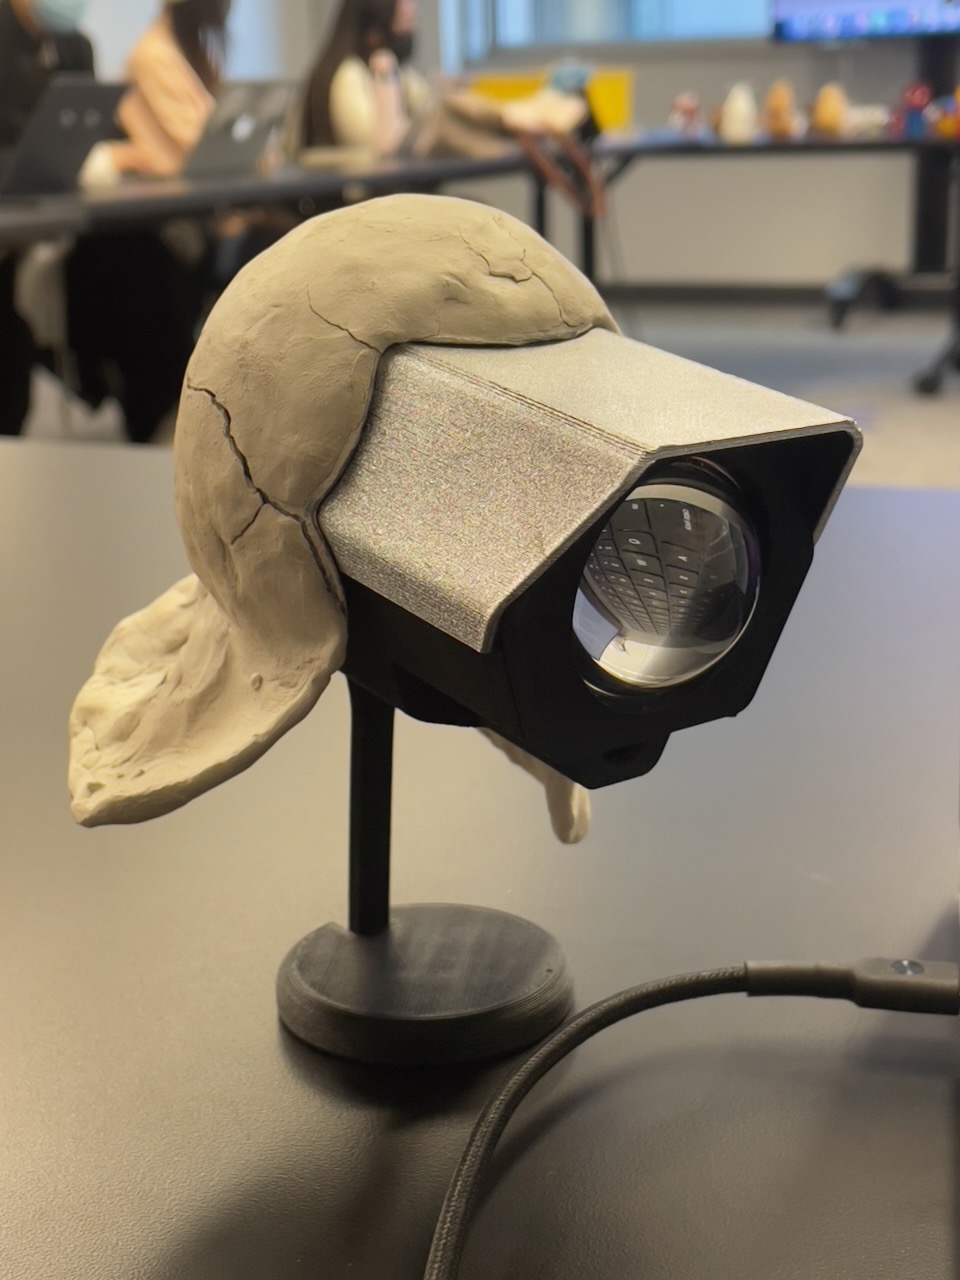
For finish, I want to create the "Borderlands" look with outlines. After checking out a couple of YouTube videos it seems quite straightforward with a base coat and then painting the accents and outlines.

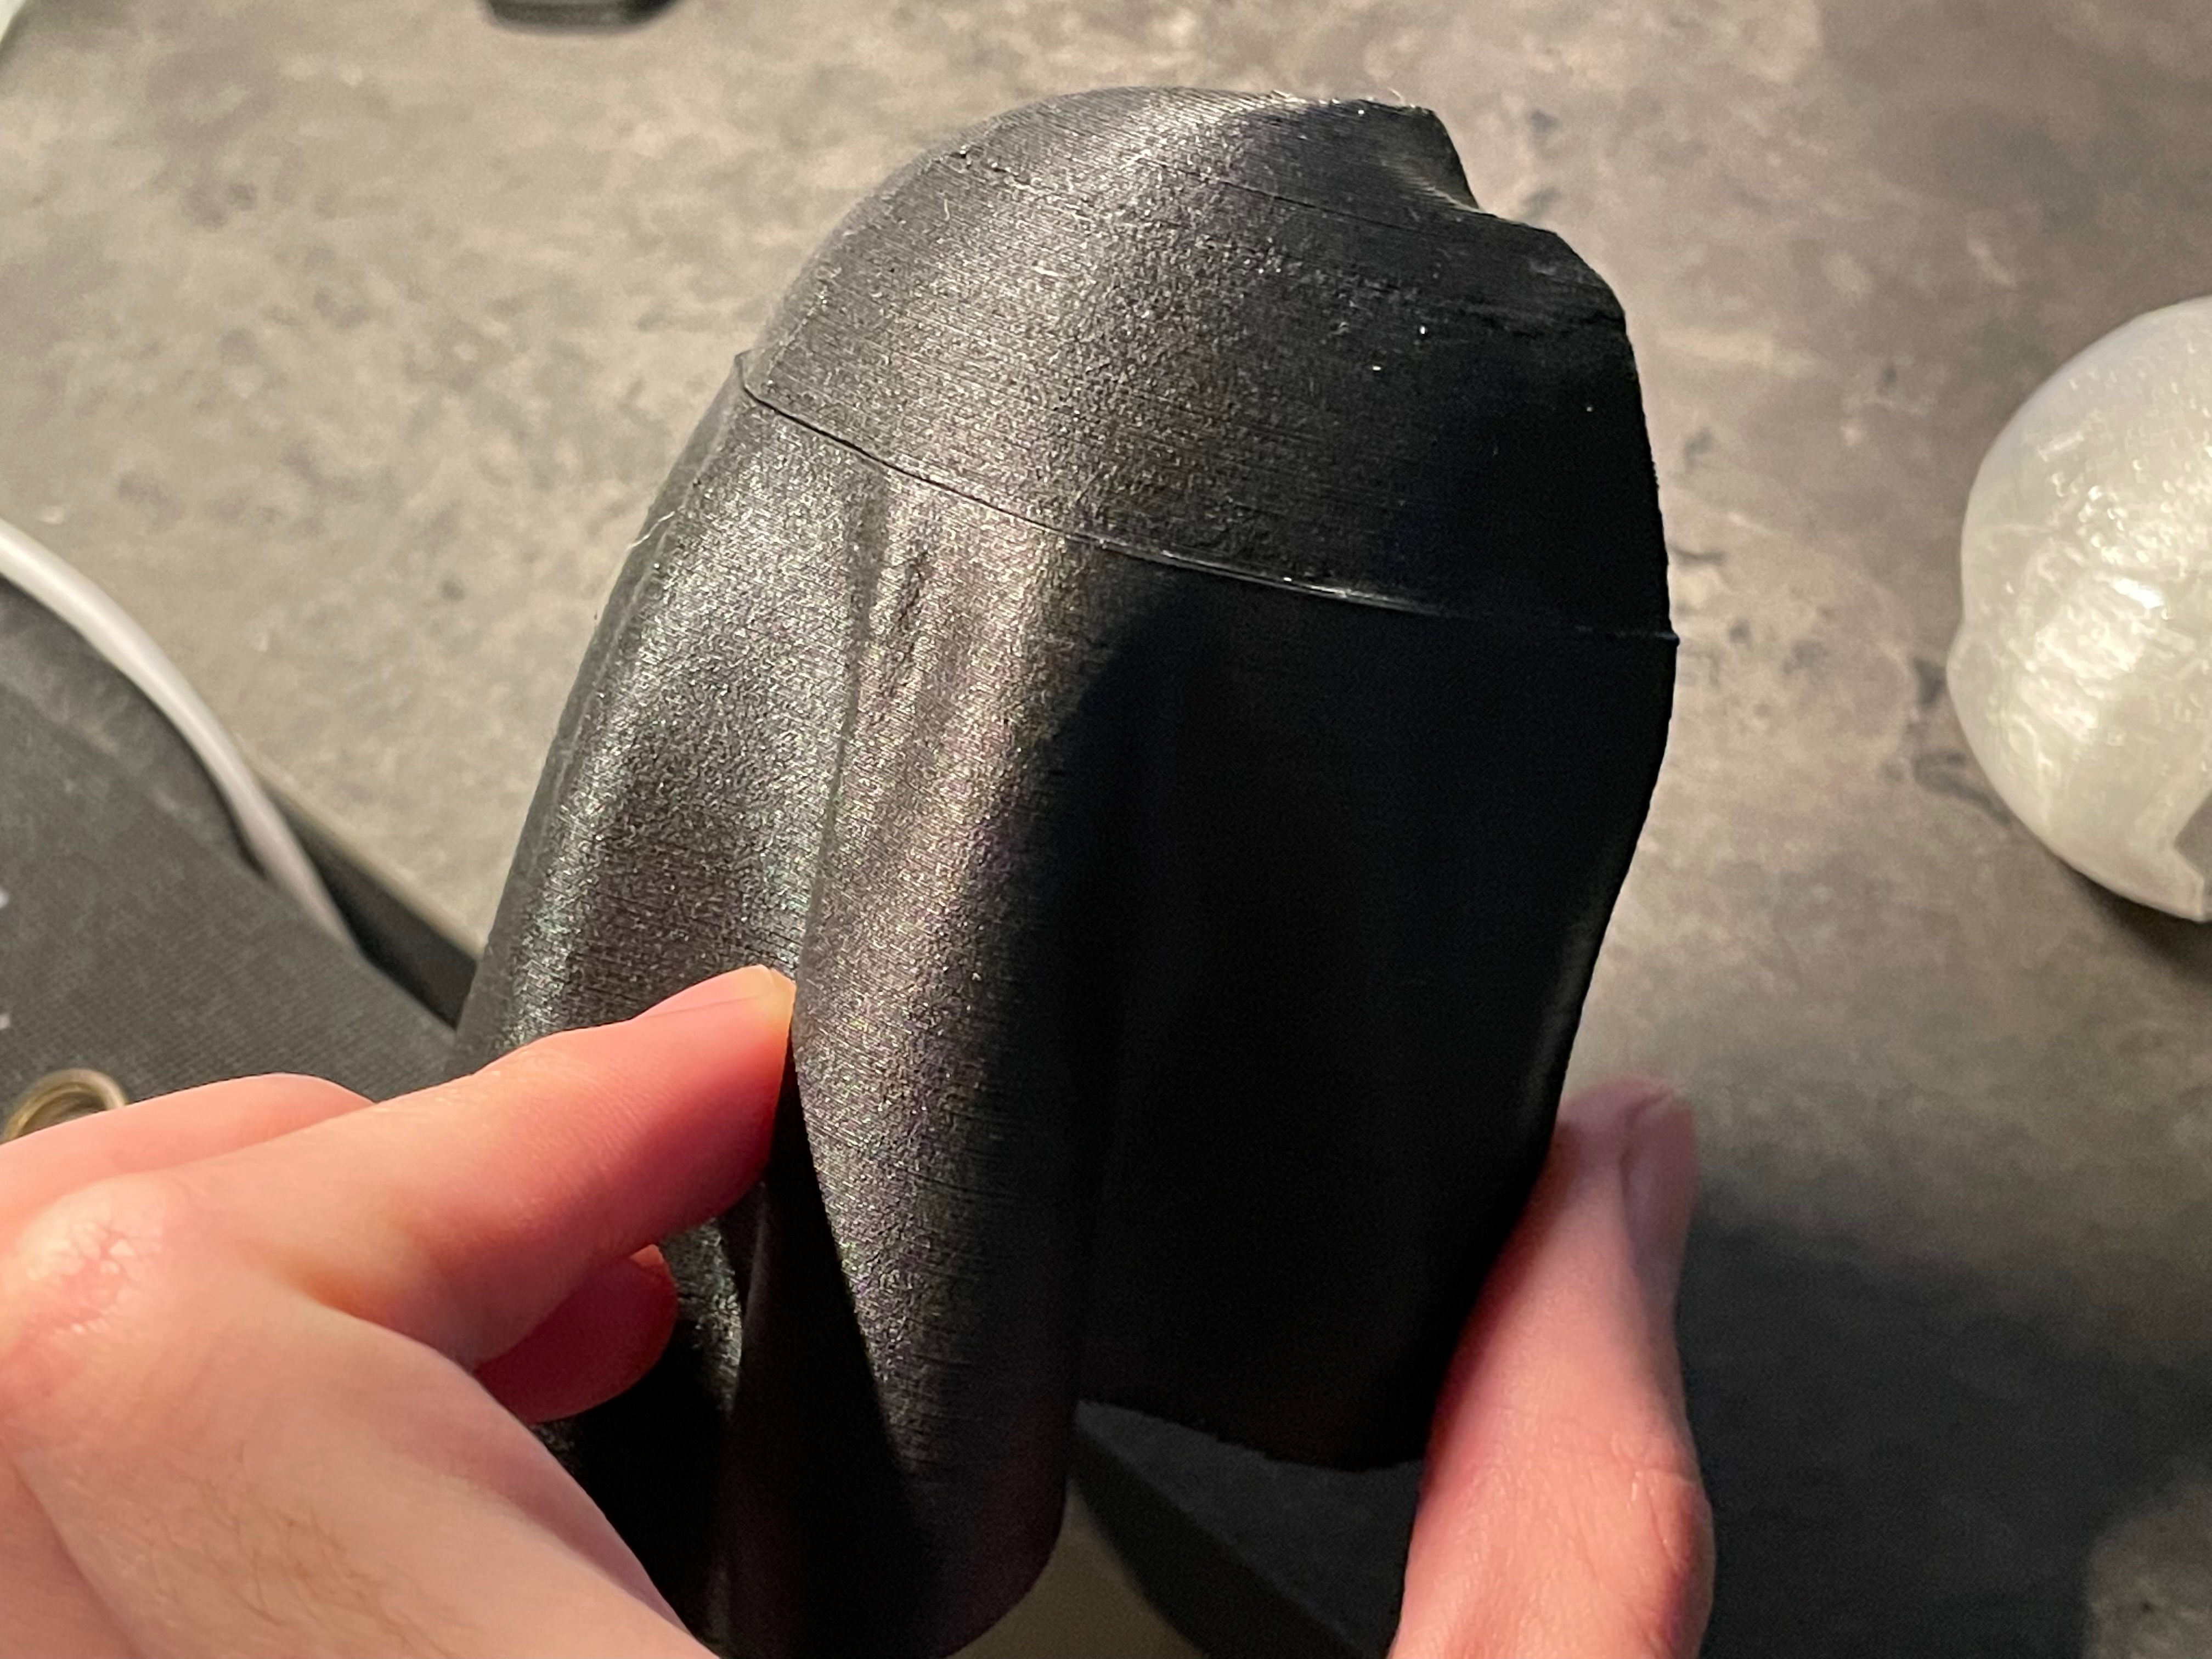
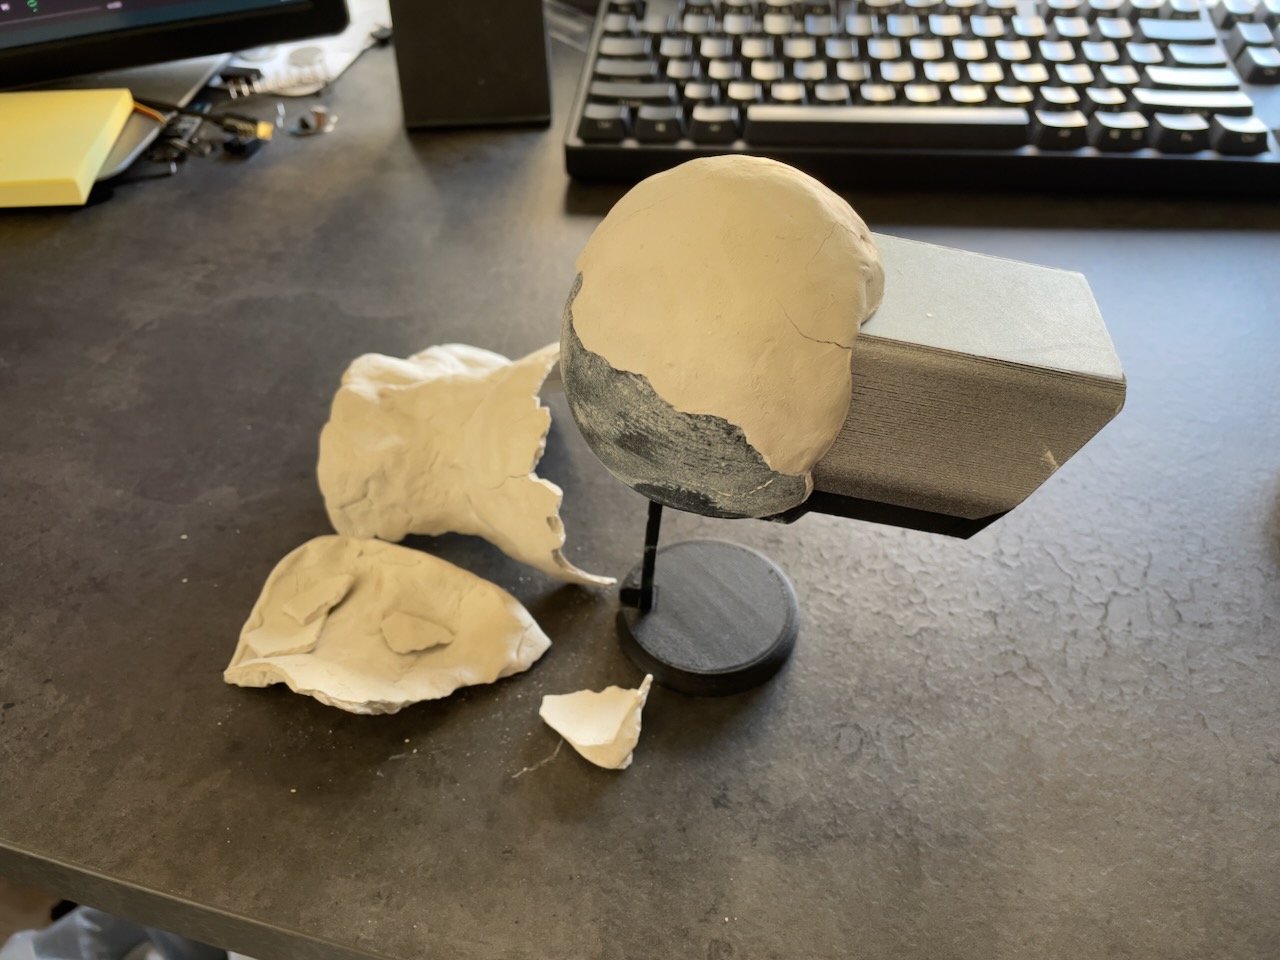
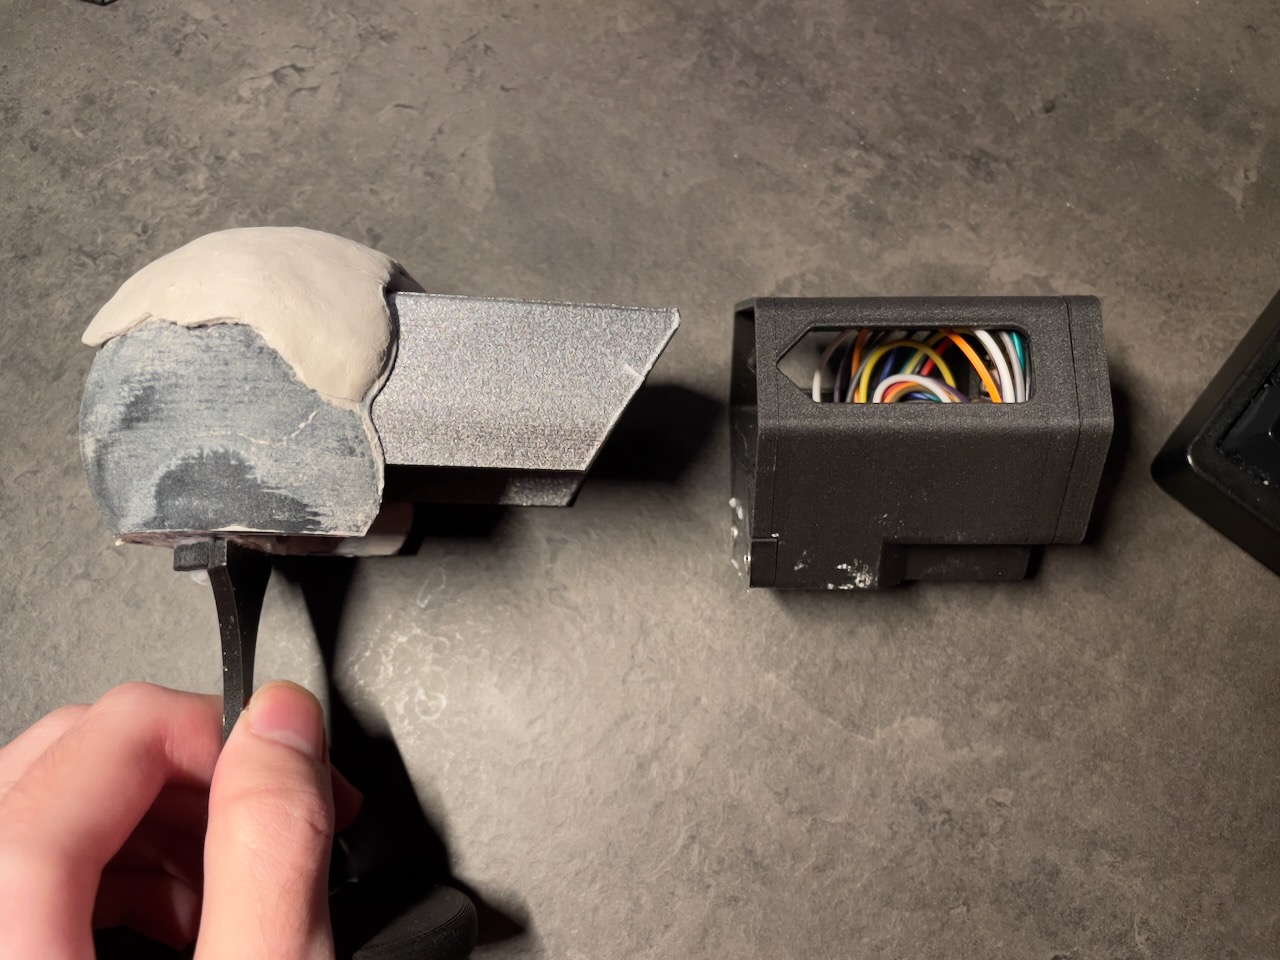
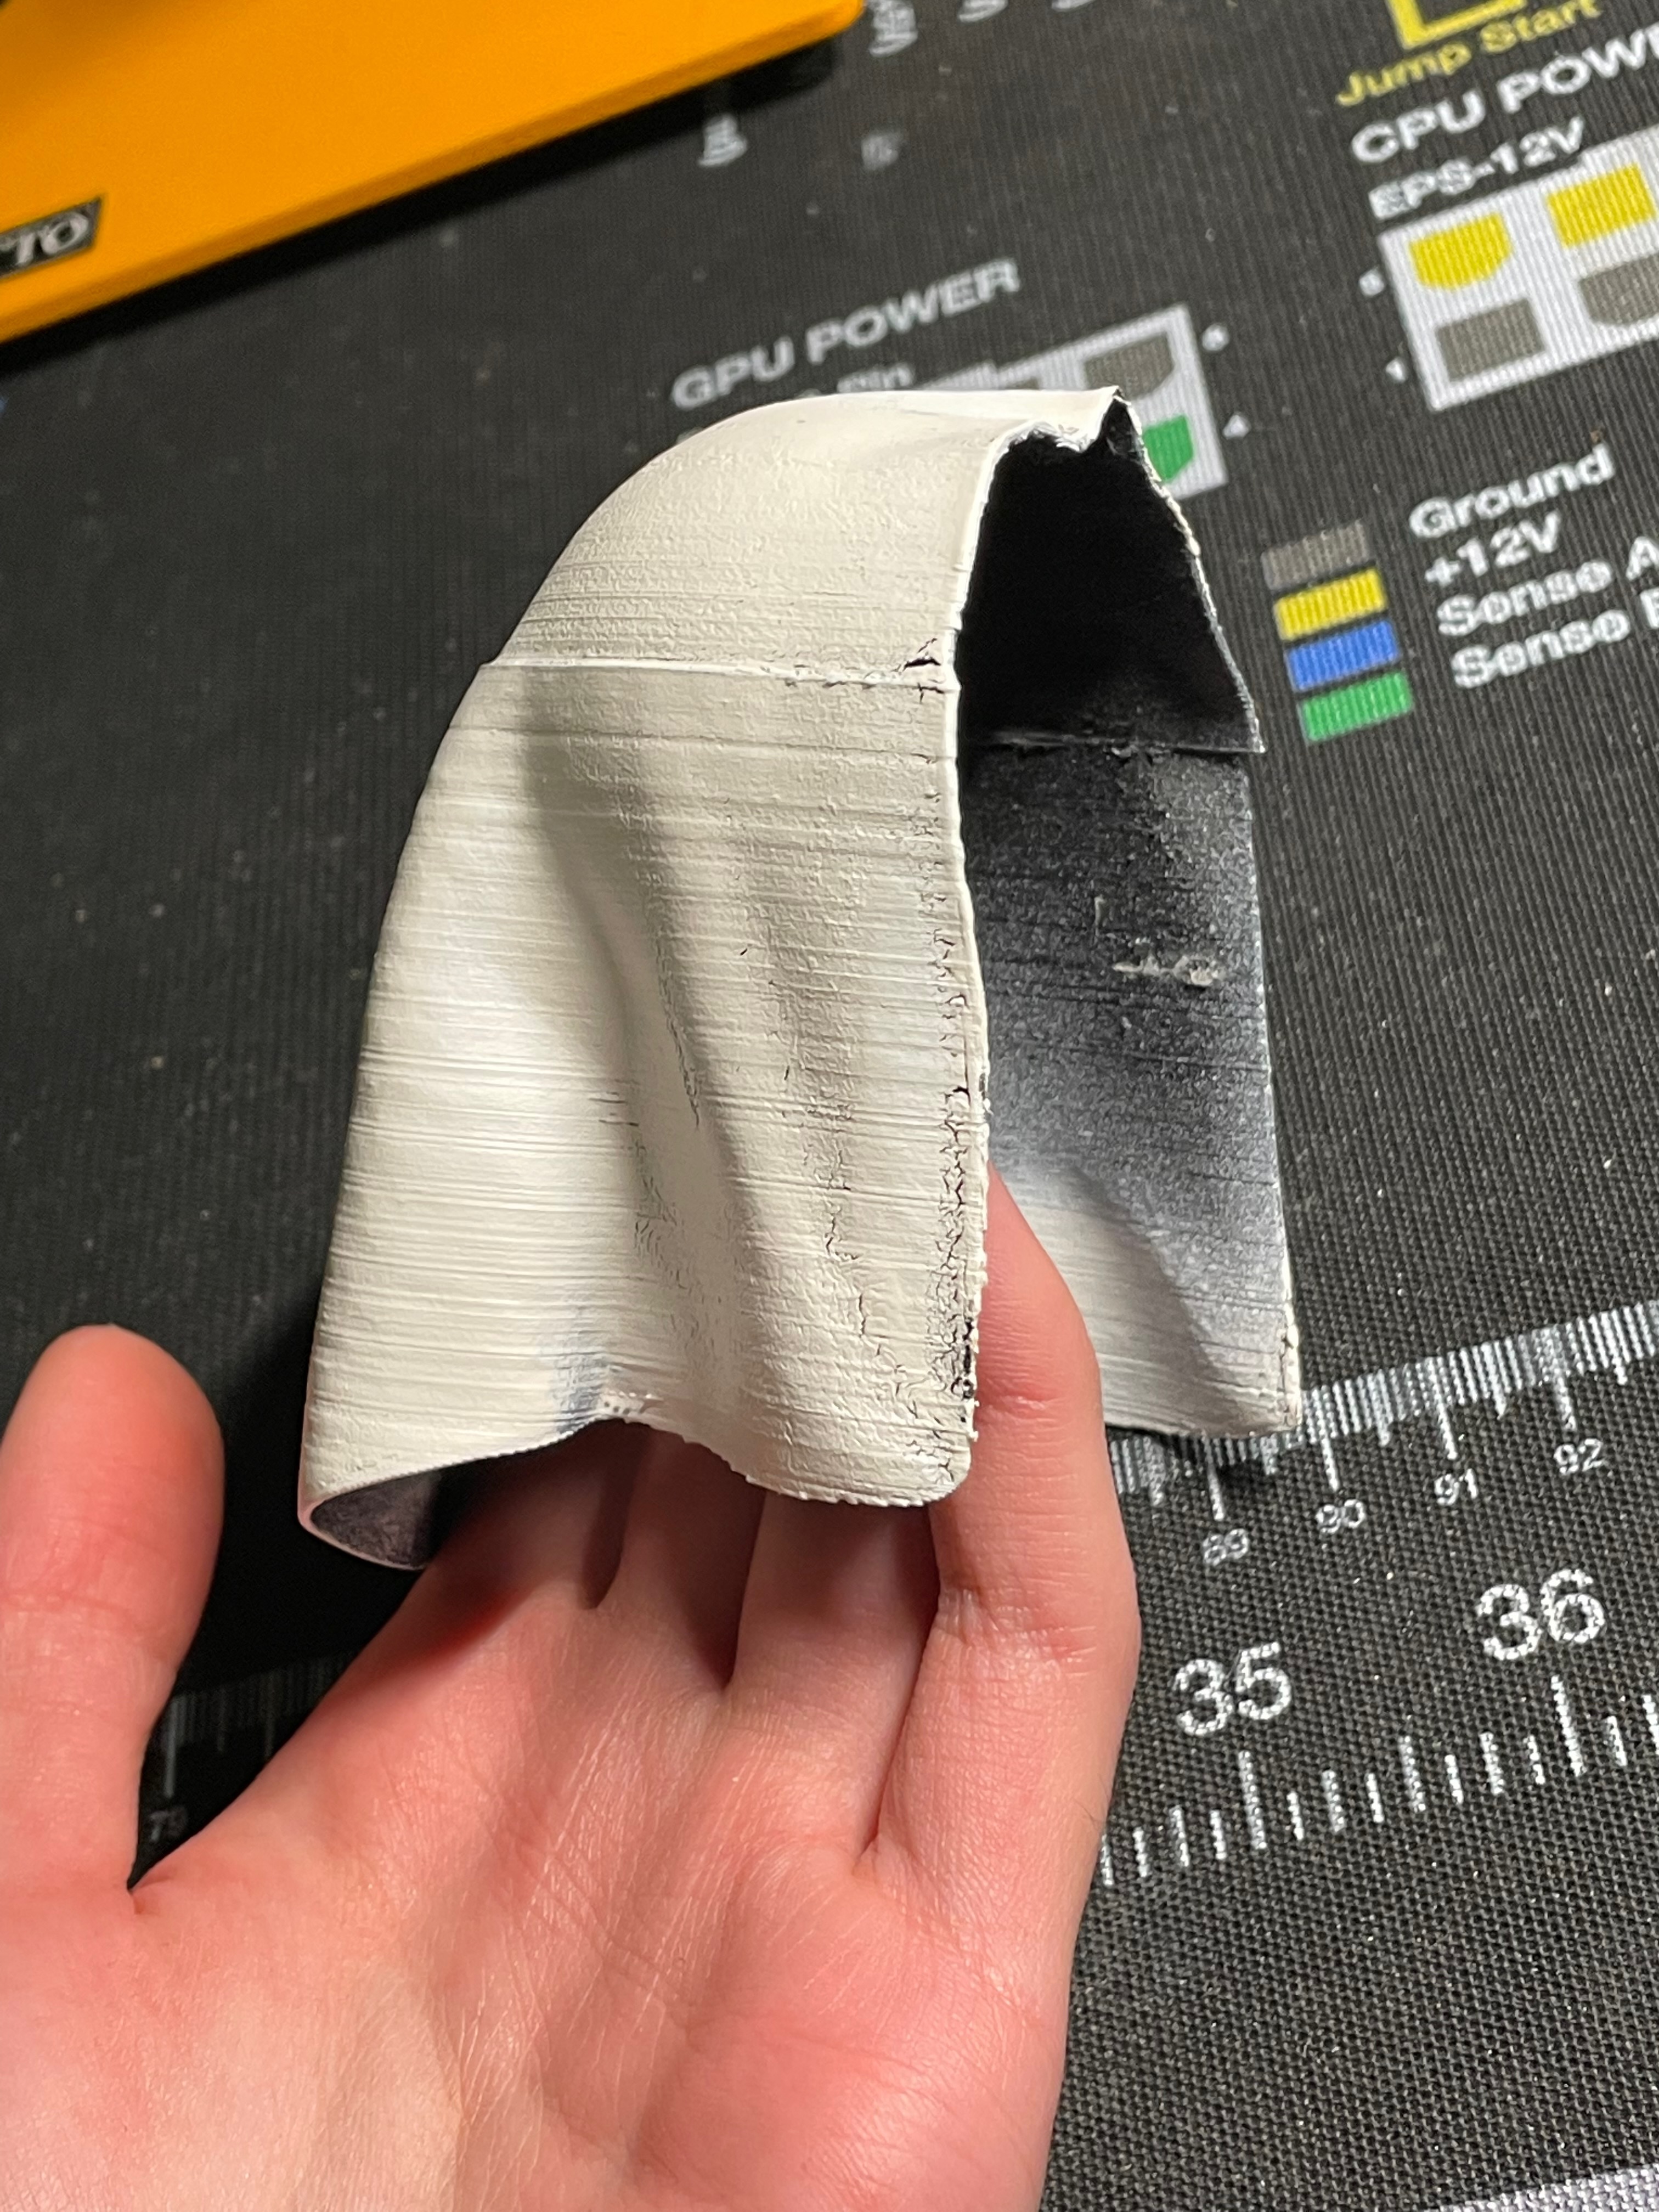
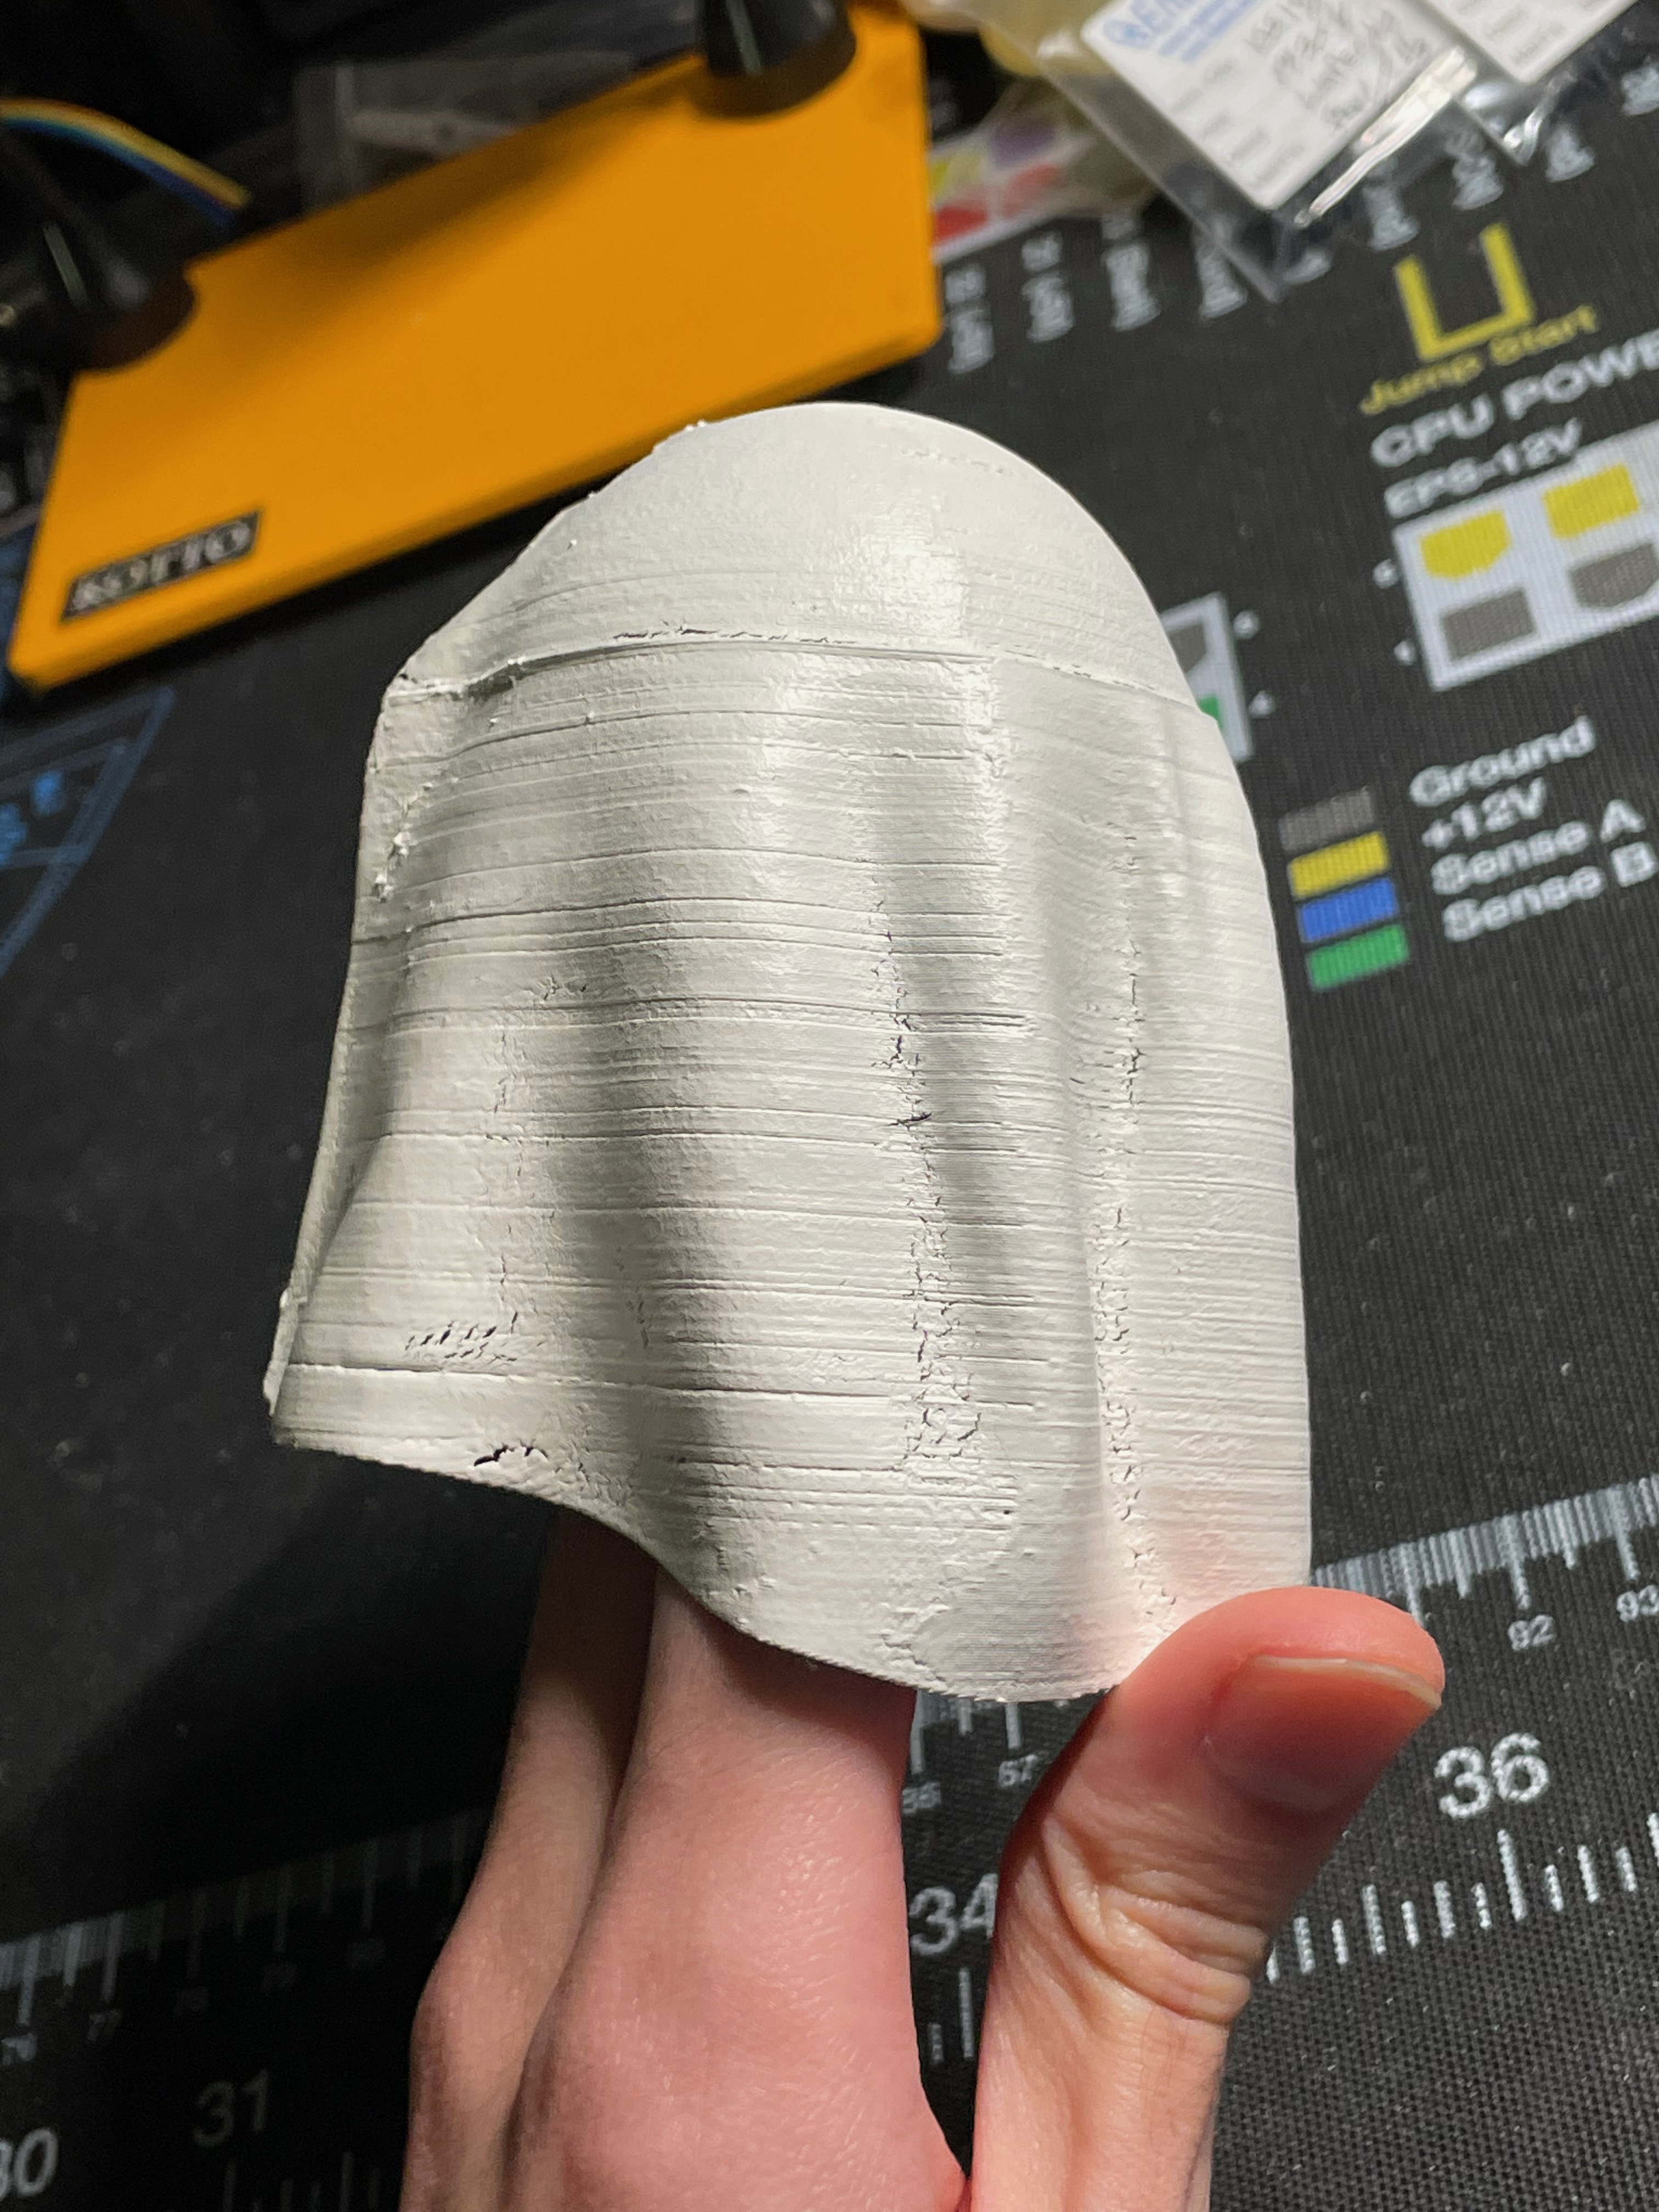
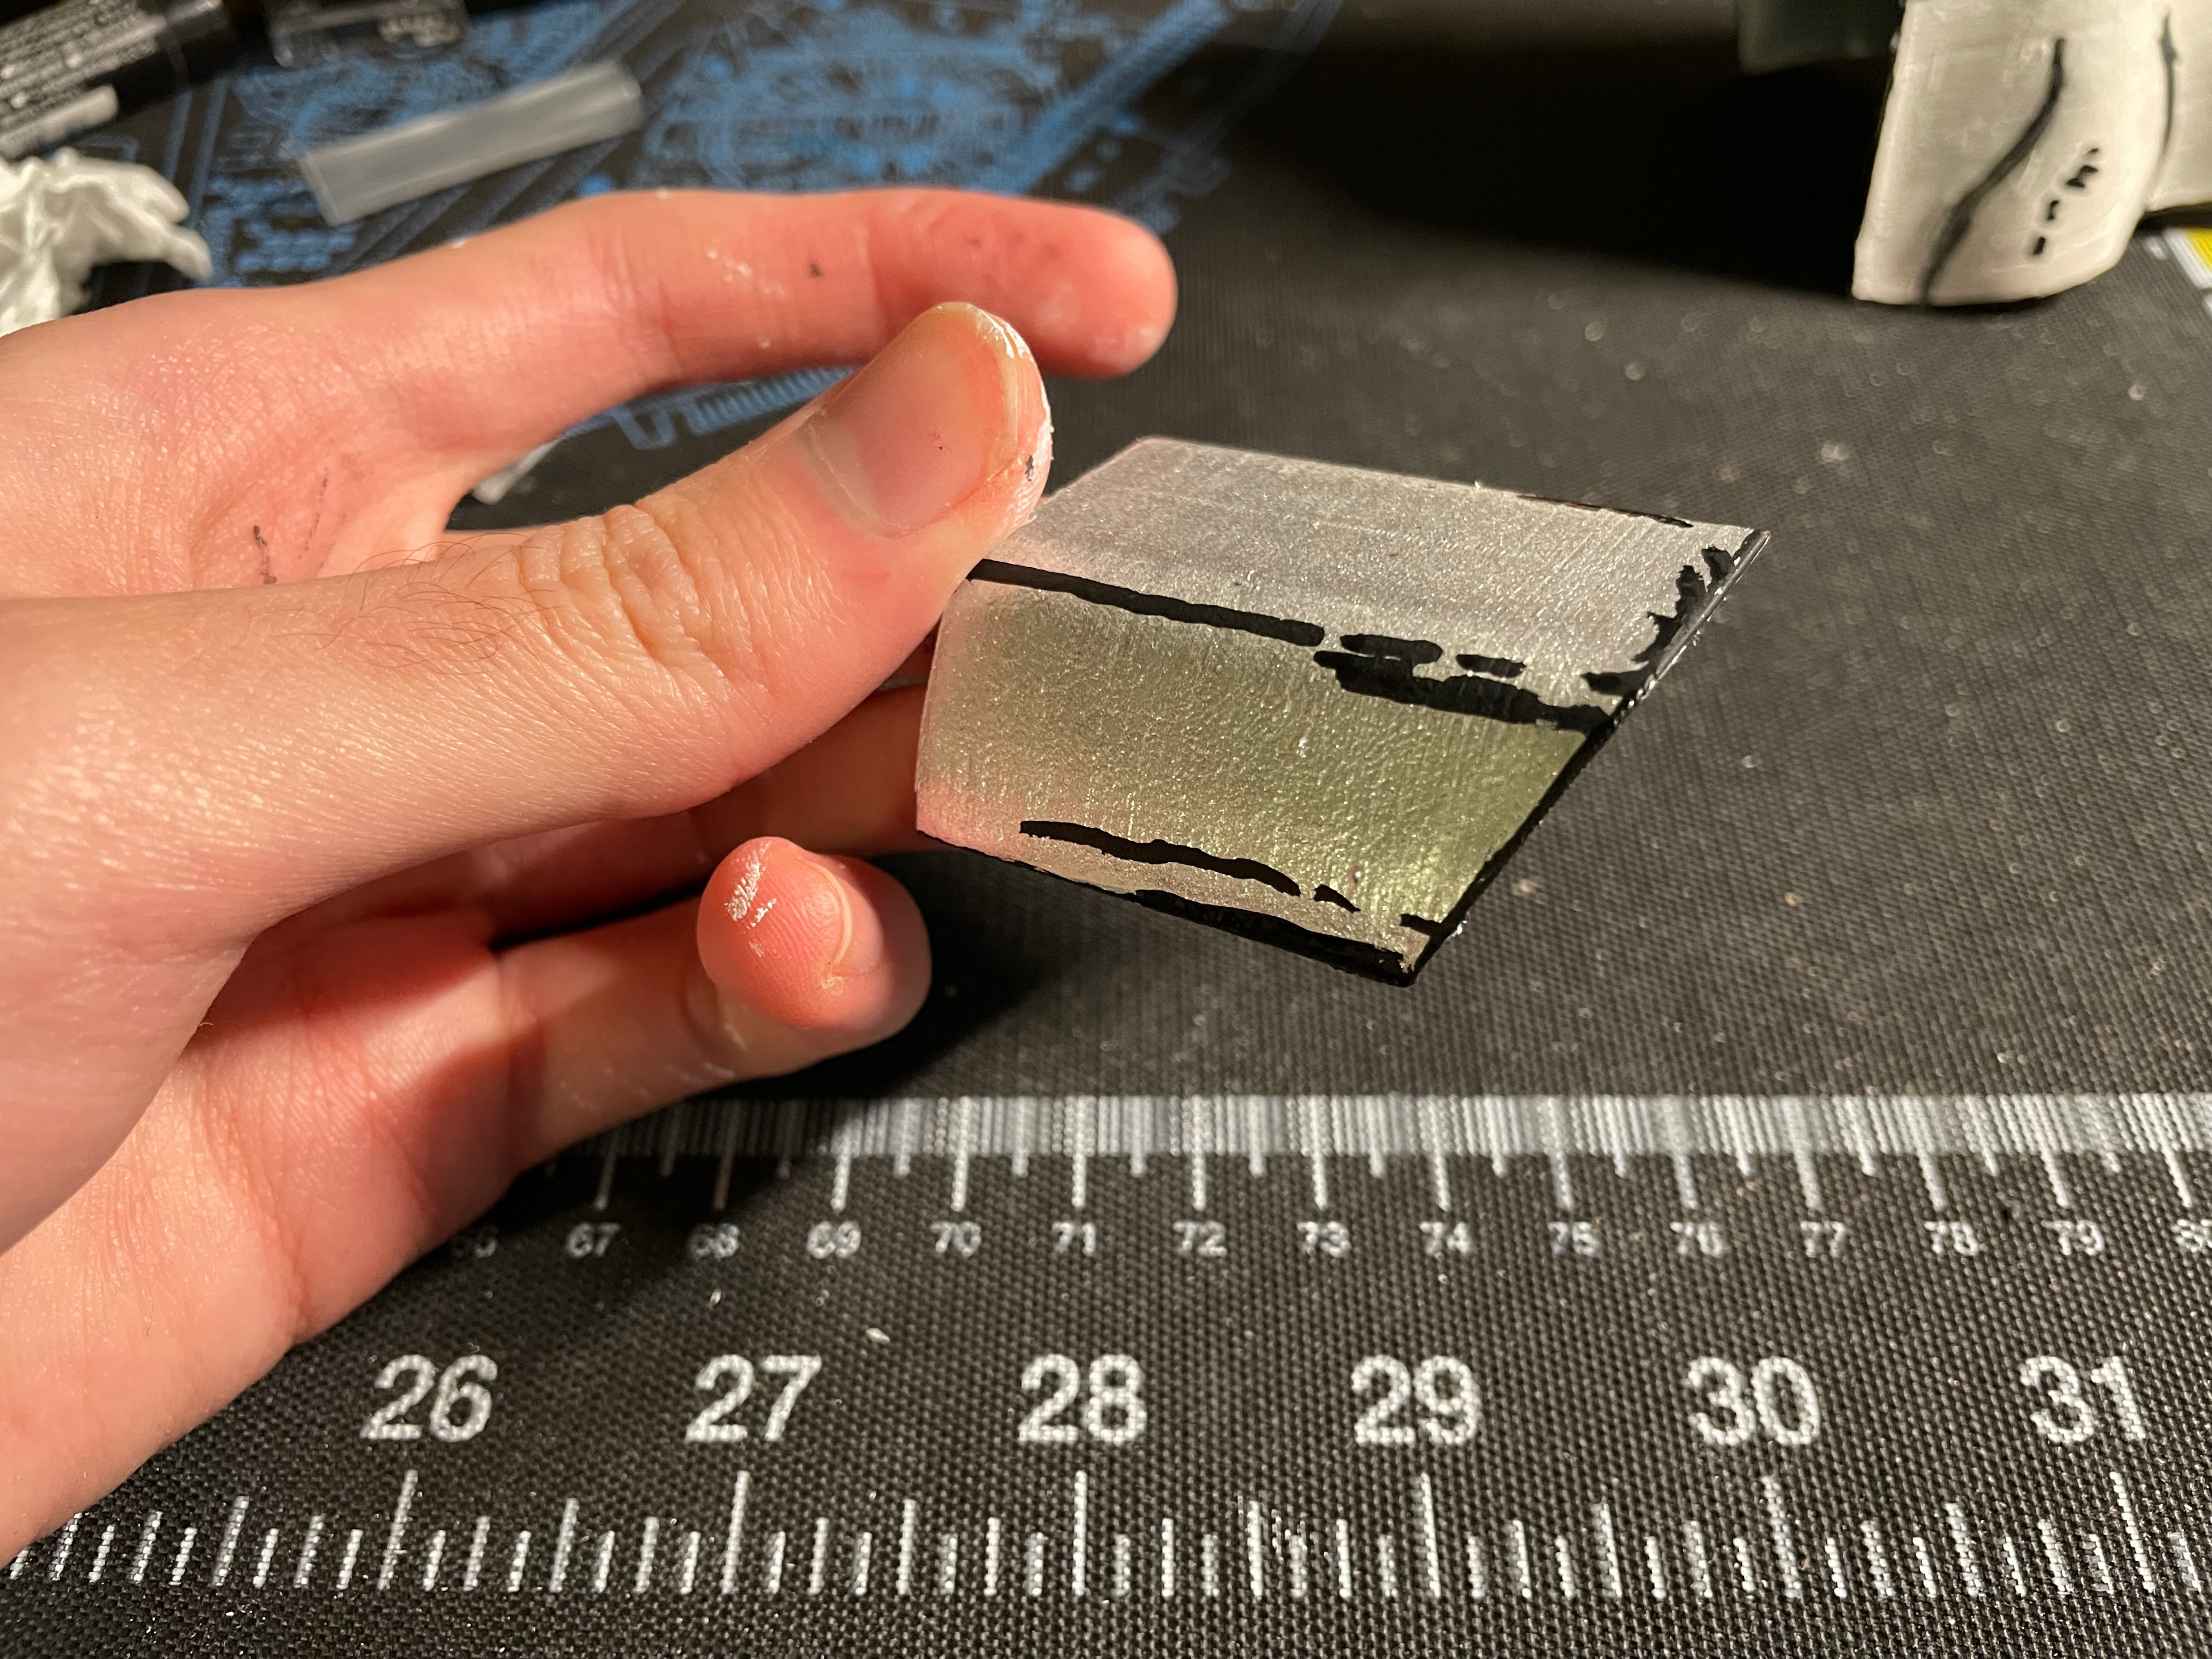
I couldn't find filler primer in time so had to settle with "regular" plastic primer, specifically MTN Pro Plastics Primer. It seemed to do an okay job and the subsequent layers do stick, albeit contributing nothing to hiding the layer lines. Perhaps because I painted the model on the roof of my apartment and it's quite cold out here, the paint cracked a bit.

IMG_6103

IMG_6104

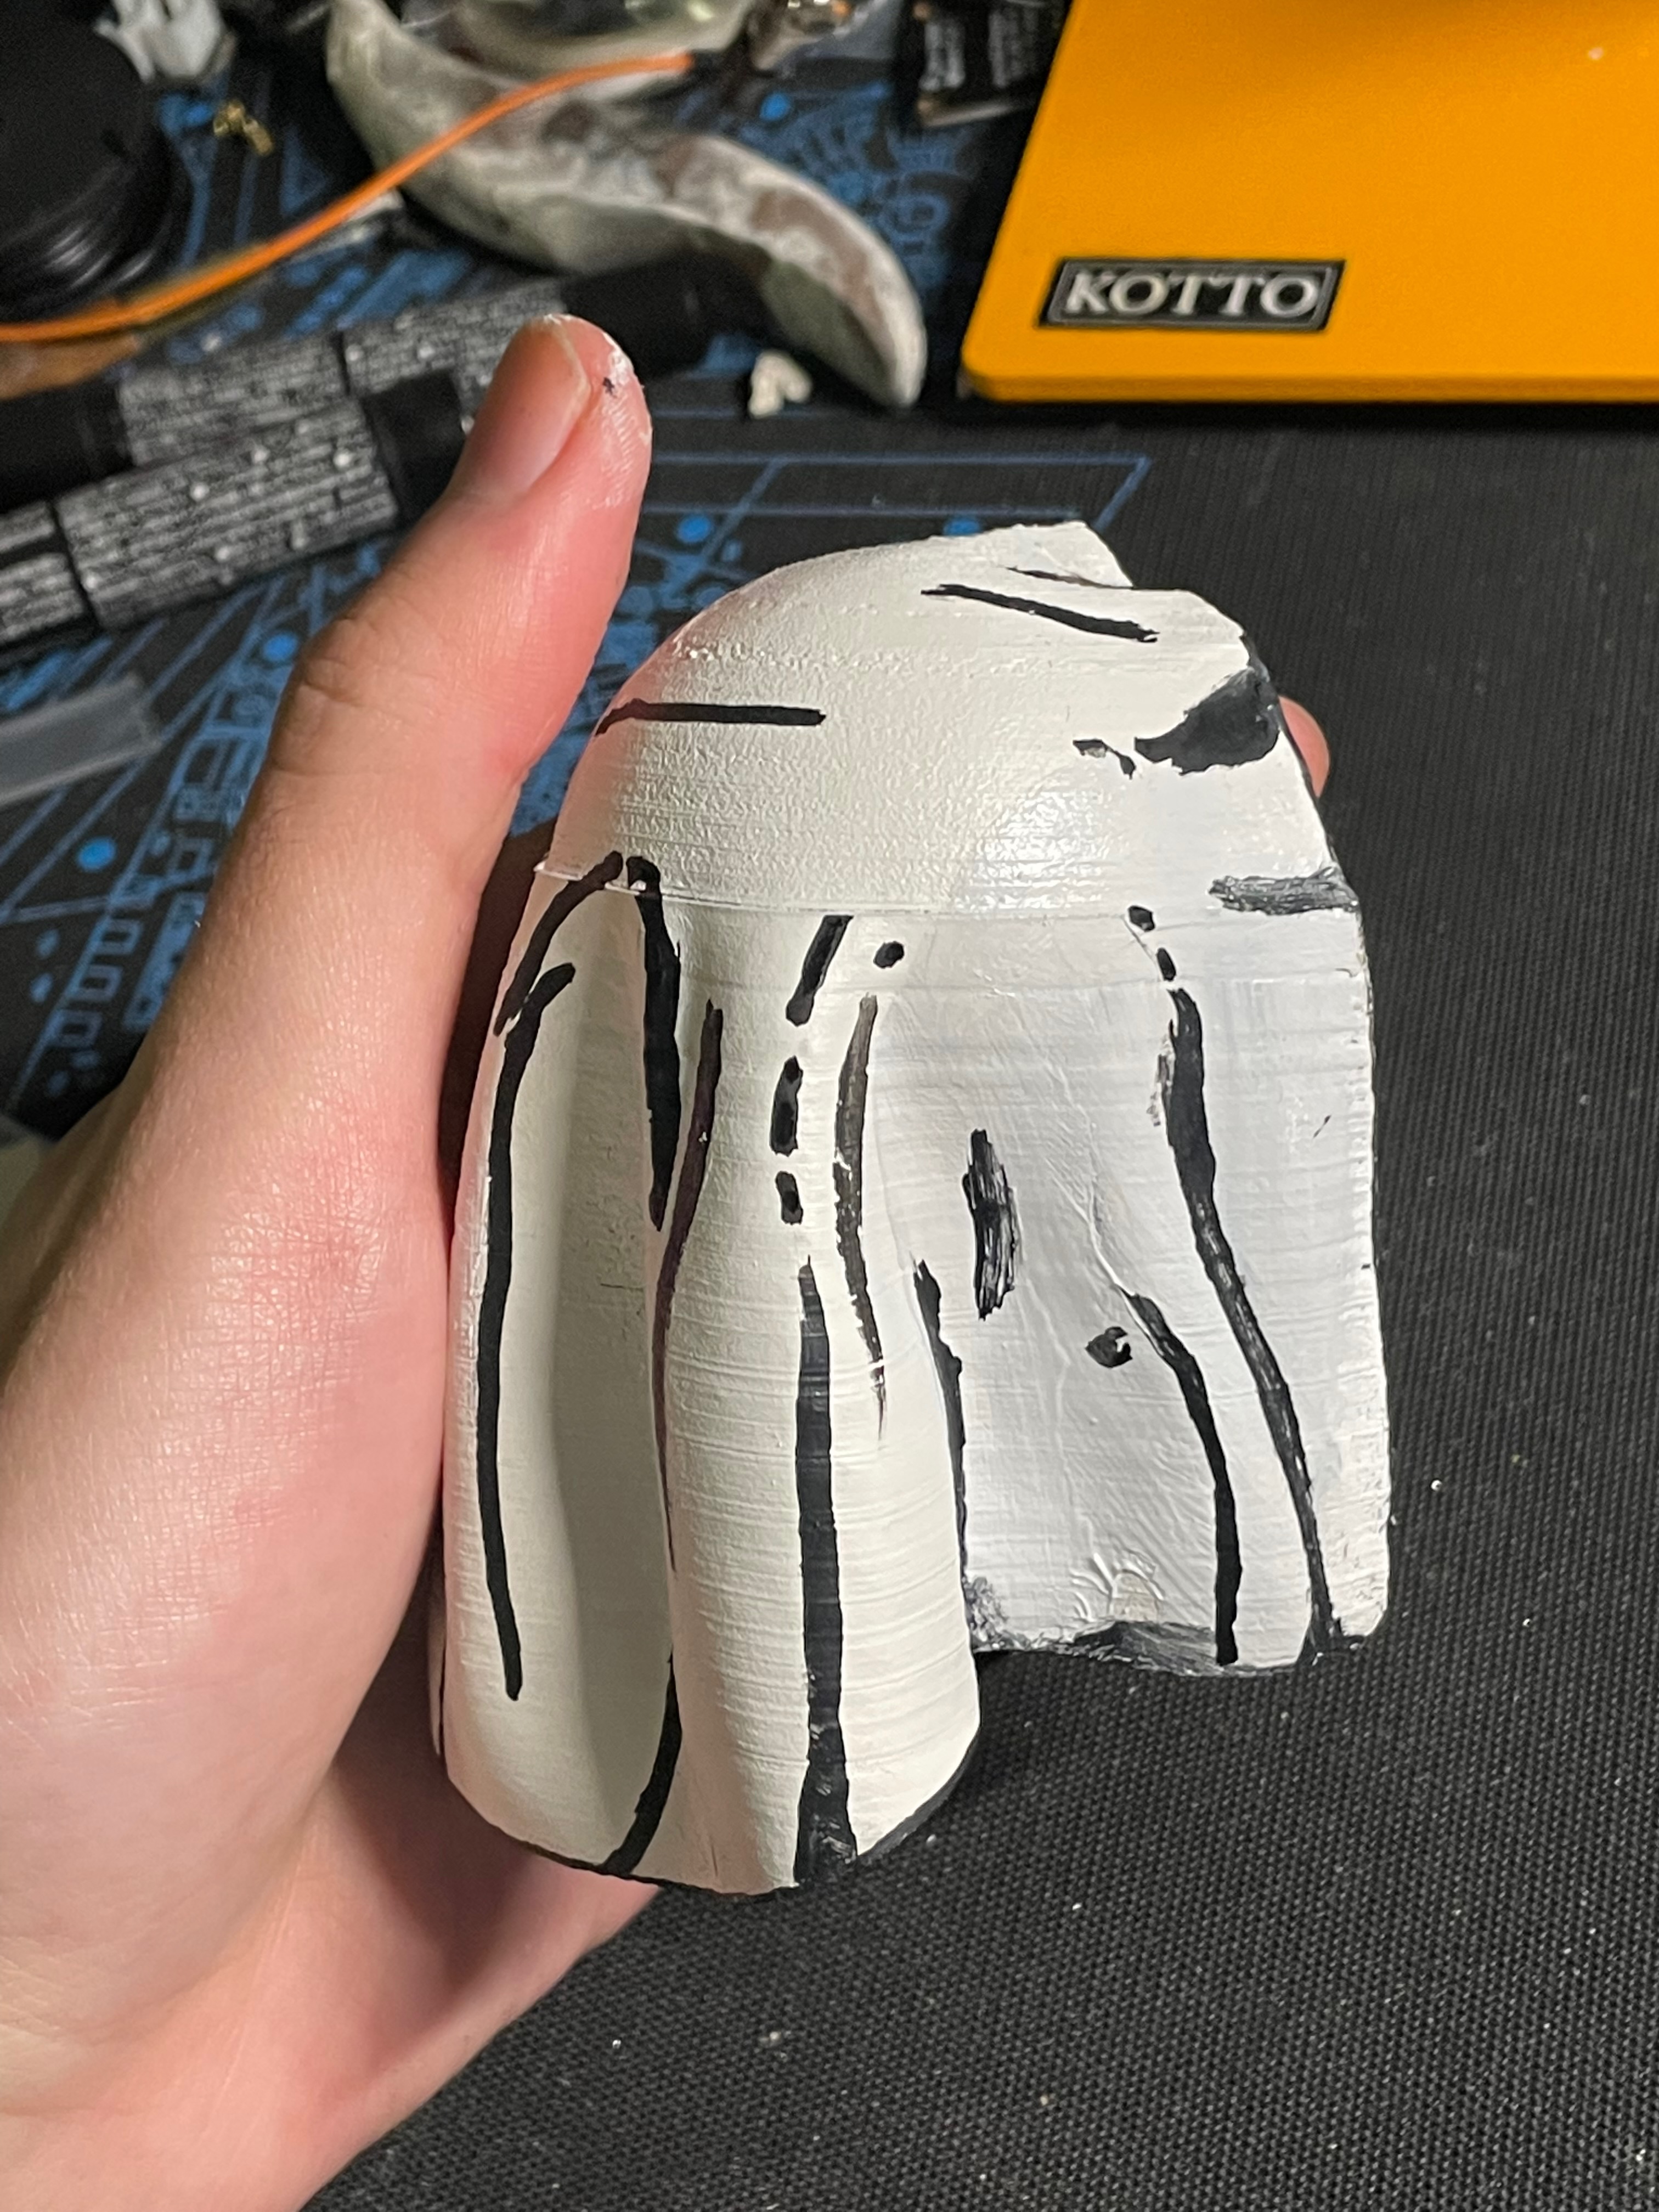
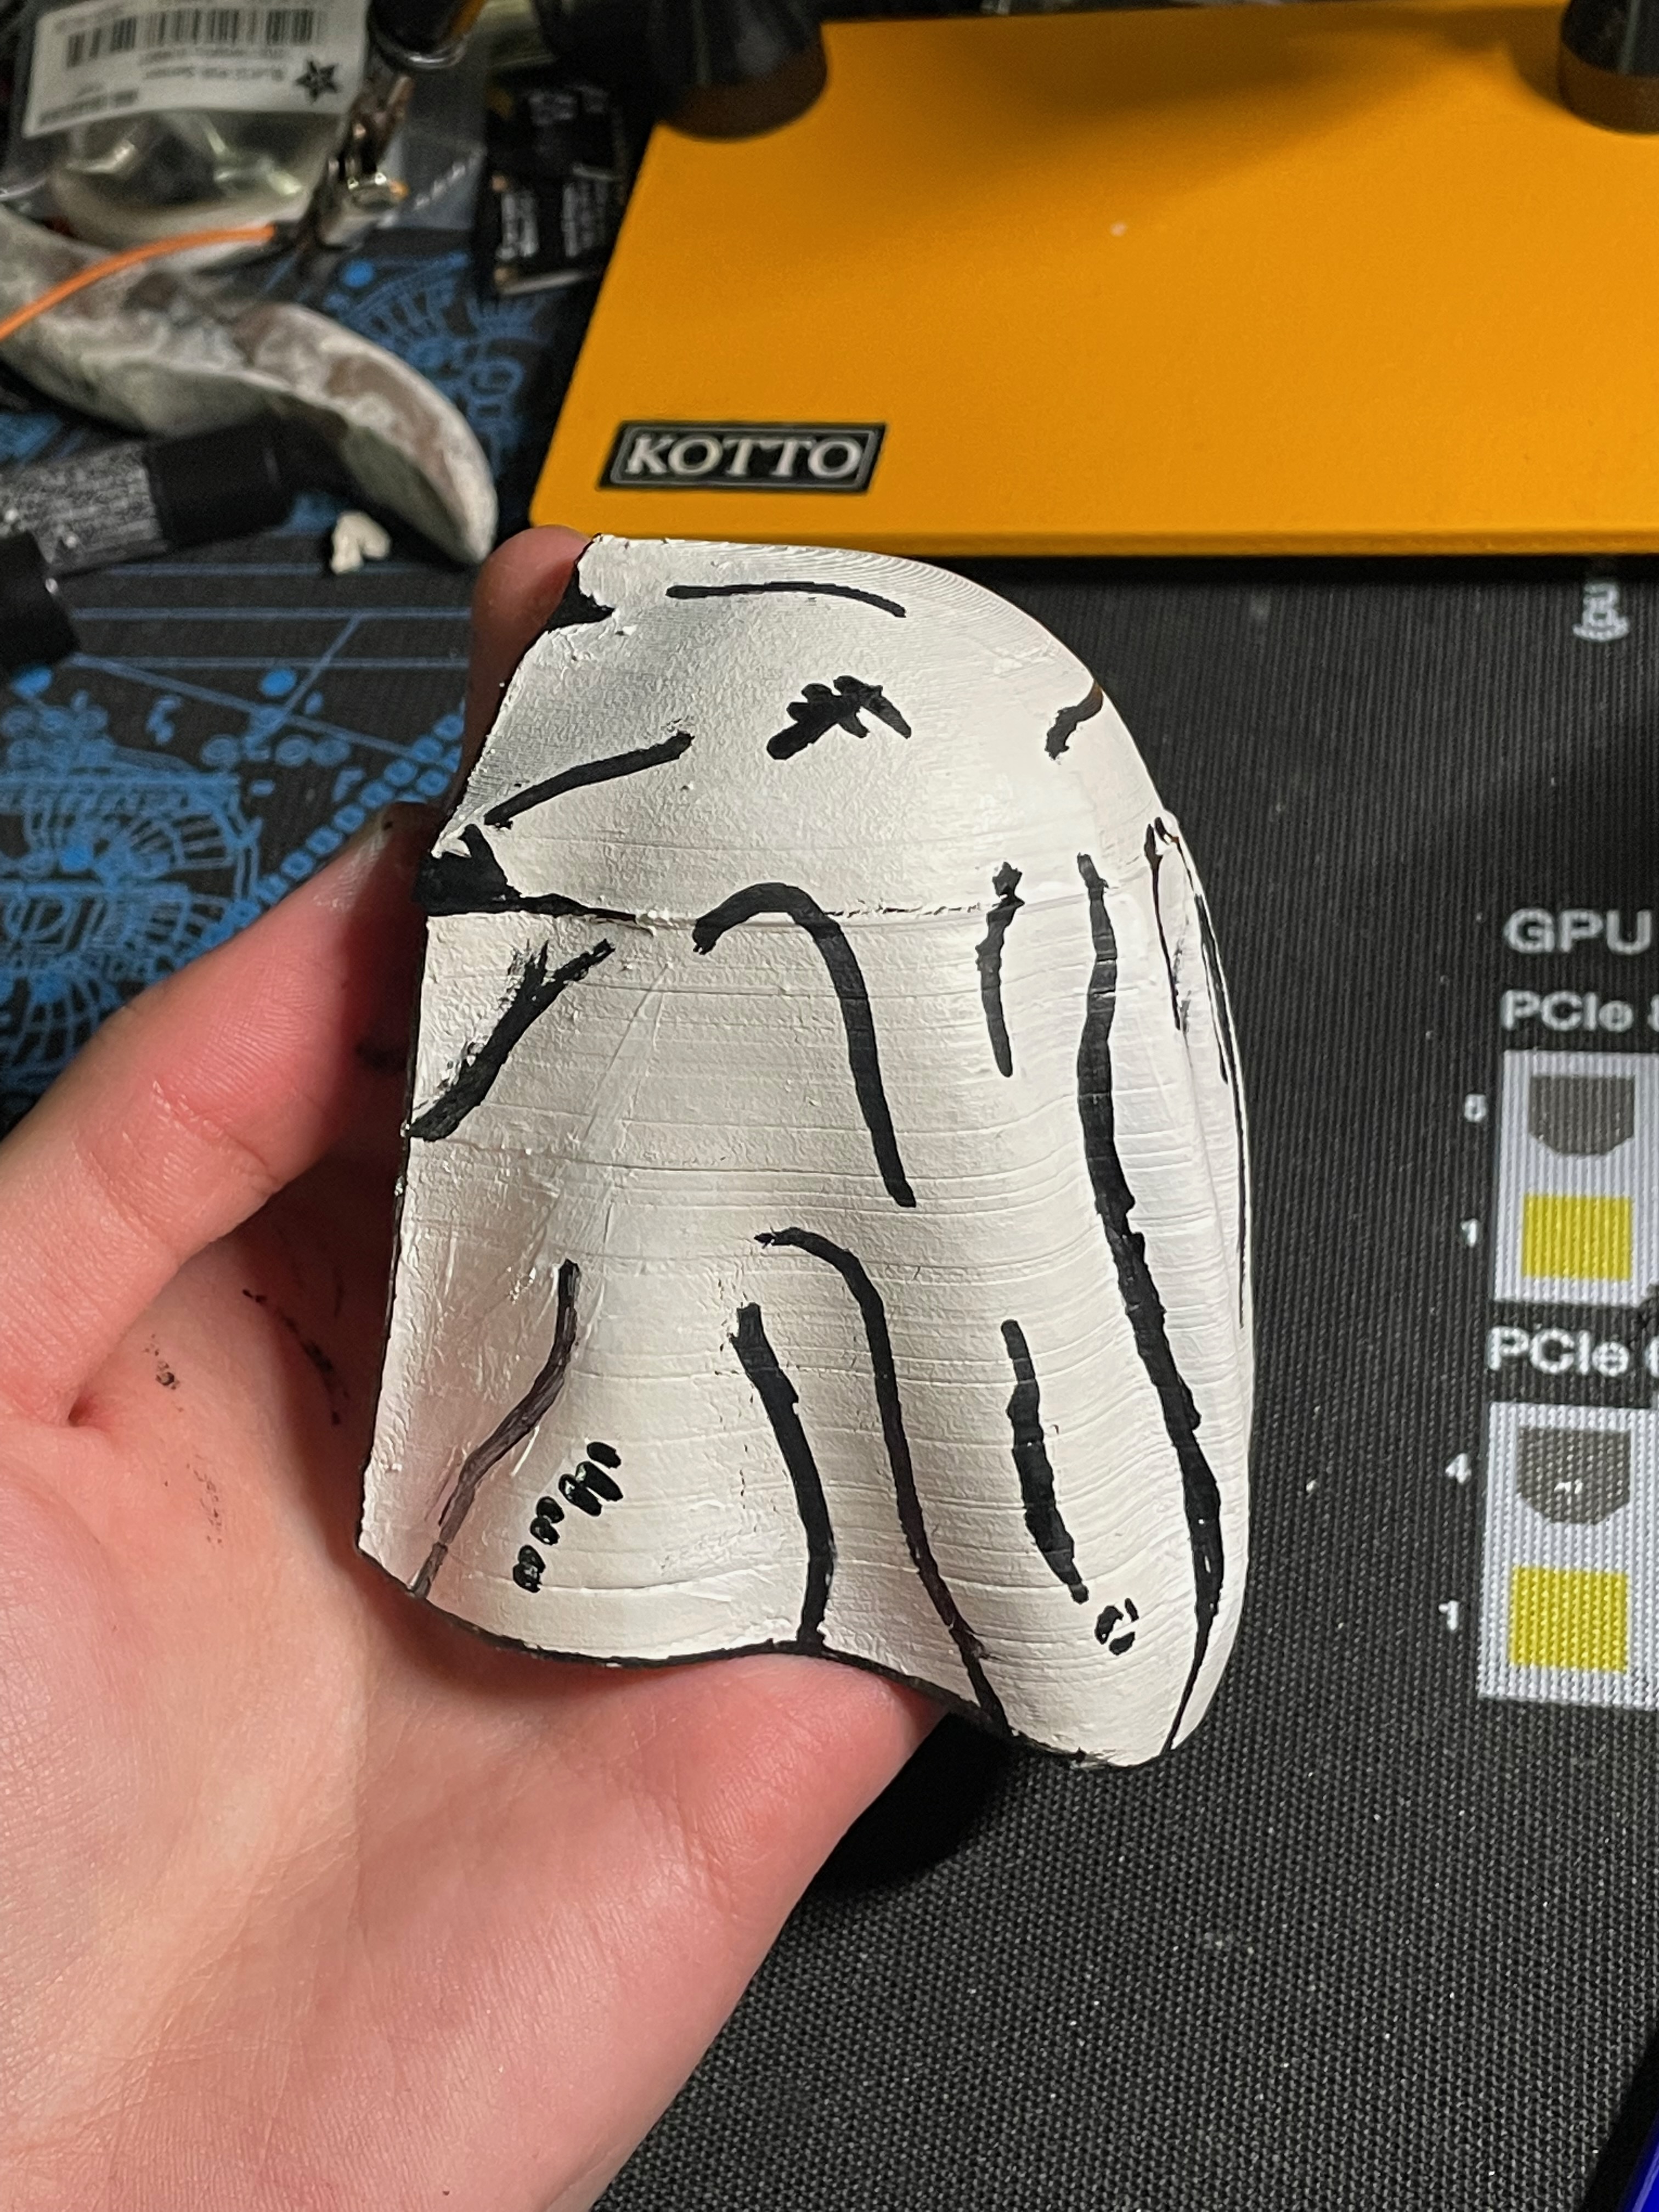
To create the outlines/strokes, I tried using a size 1 brush with acrylic paint to very little success. It's almost impossible to lay down a consistent and thin line, and I'm pretty sure I messed something up here. After switching to my tried and true Uni Posca paint markers, they do the job quite nicely.

IMG_6105

IMG_6106

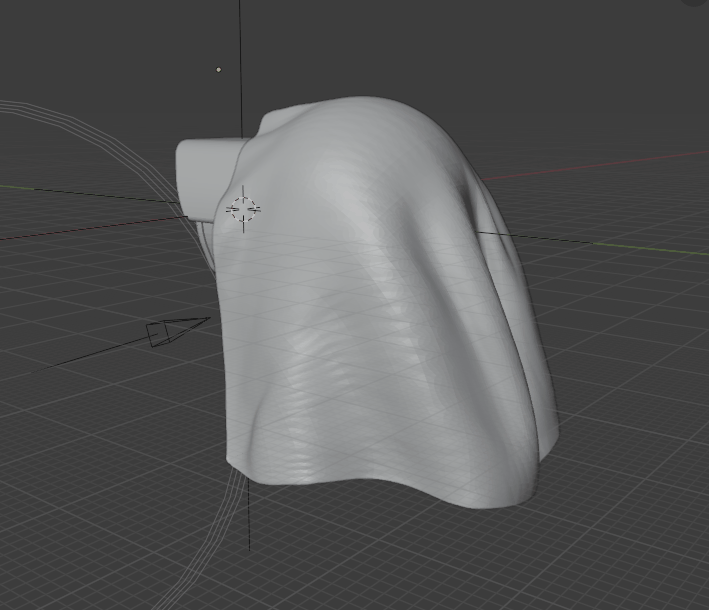
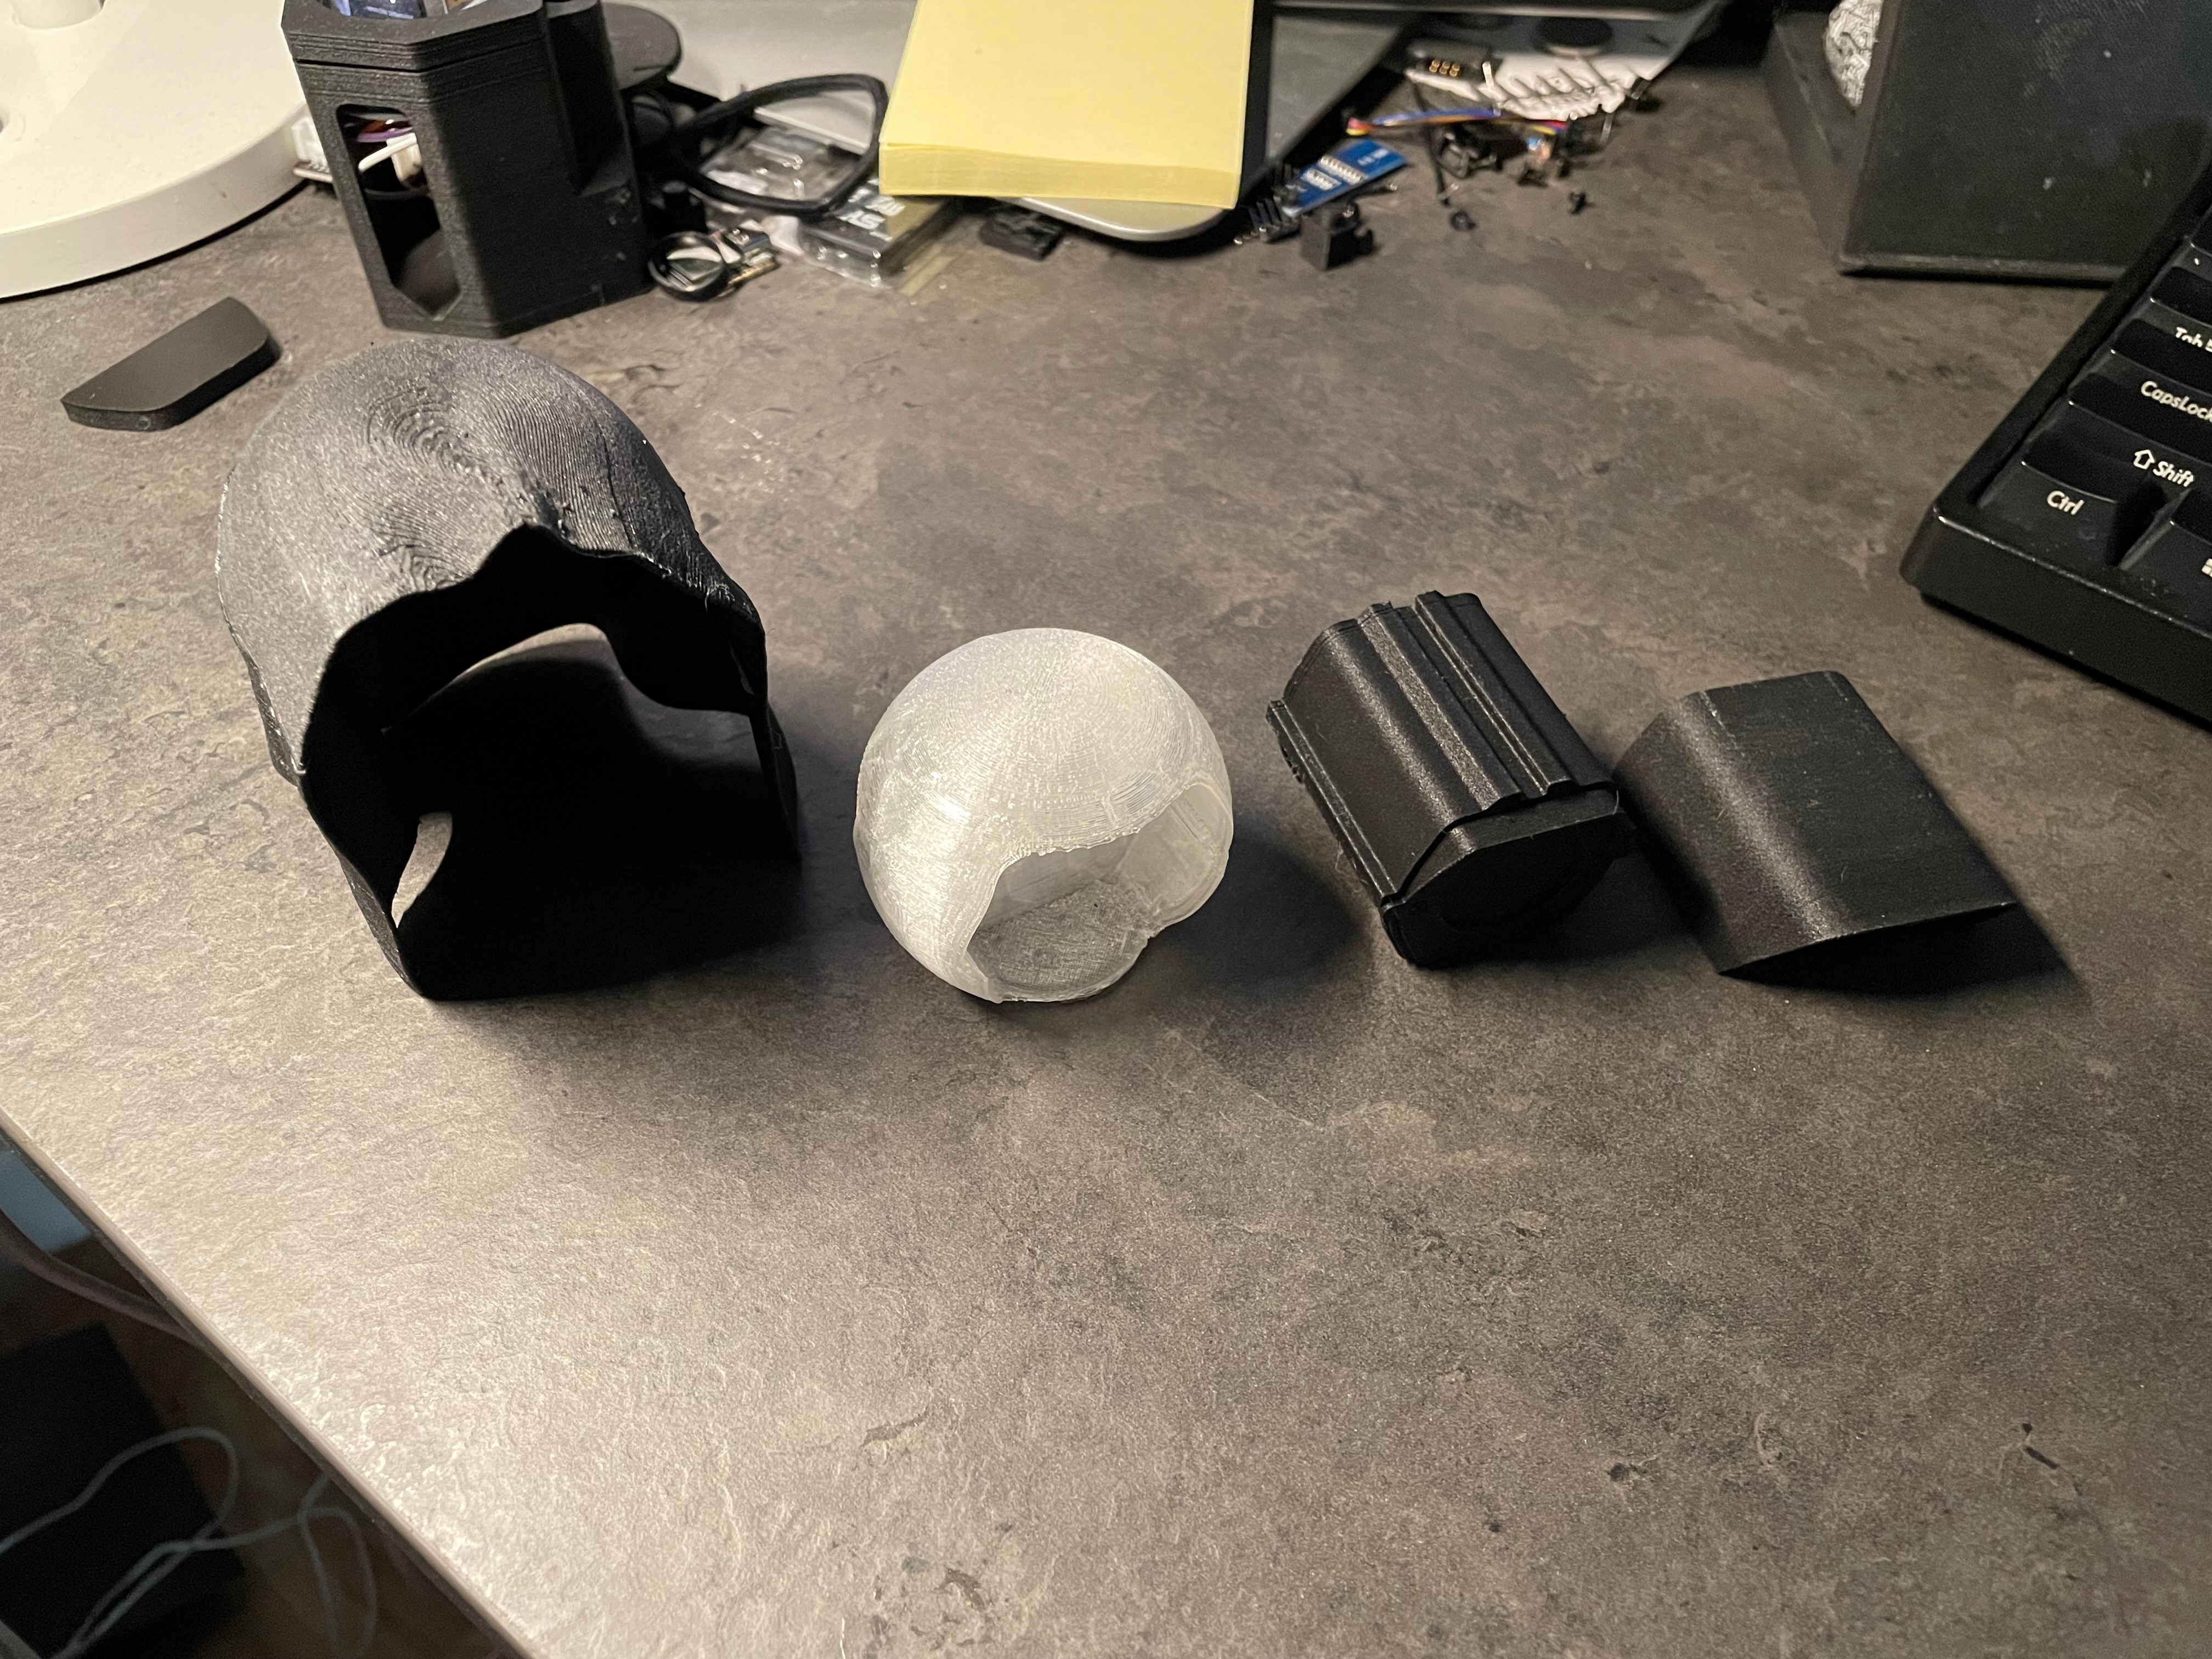
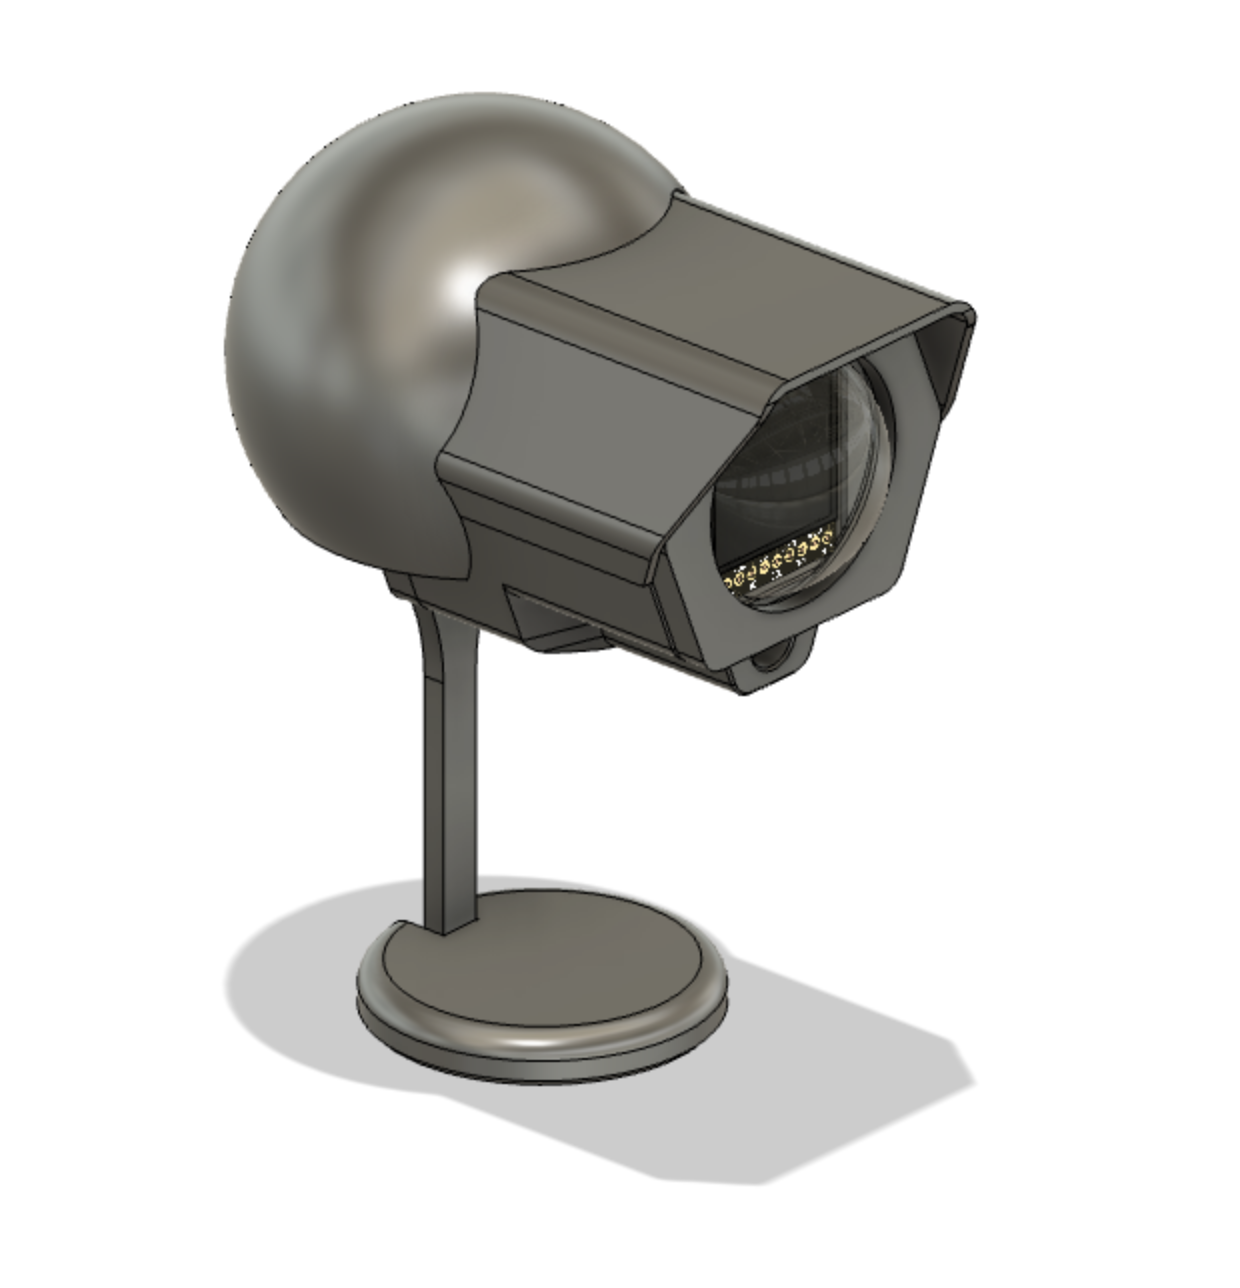
The hood part of the camera was painted with a metallic silver spray just like last time and it too accepts the marker nicely.

IMG_6107

IMG_6111

IMG_6113

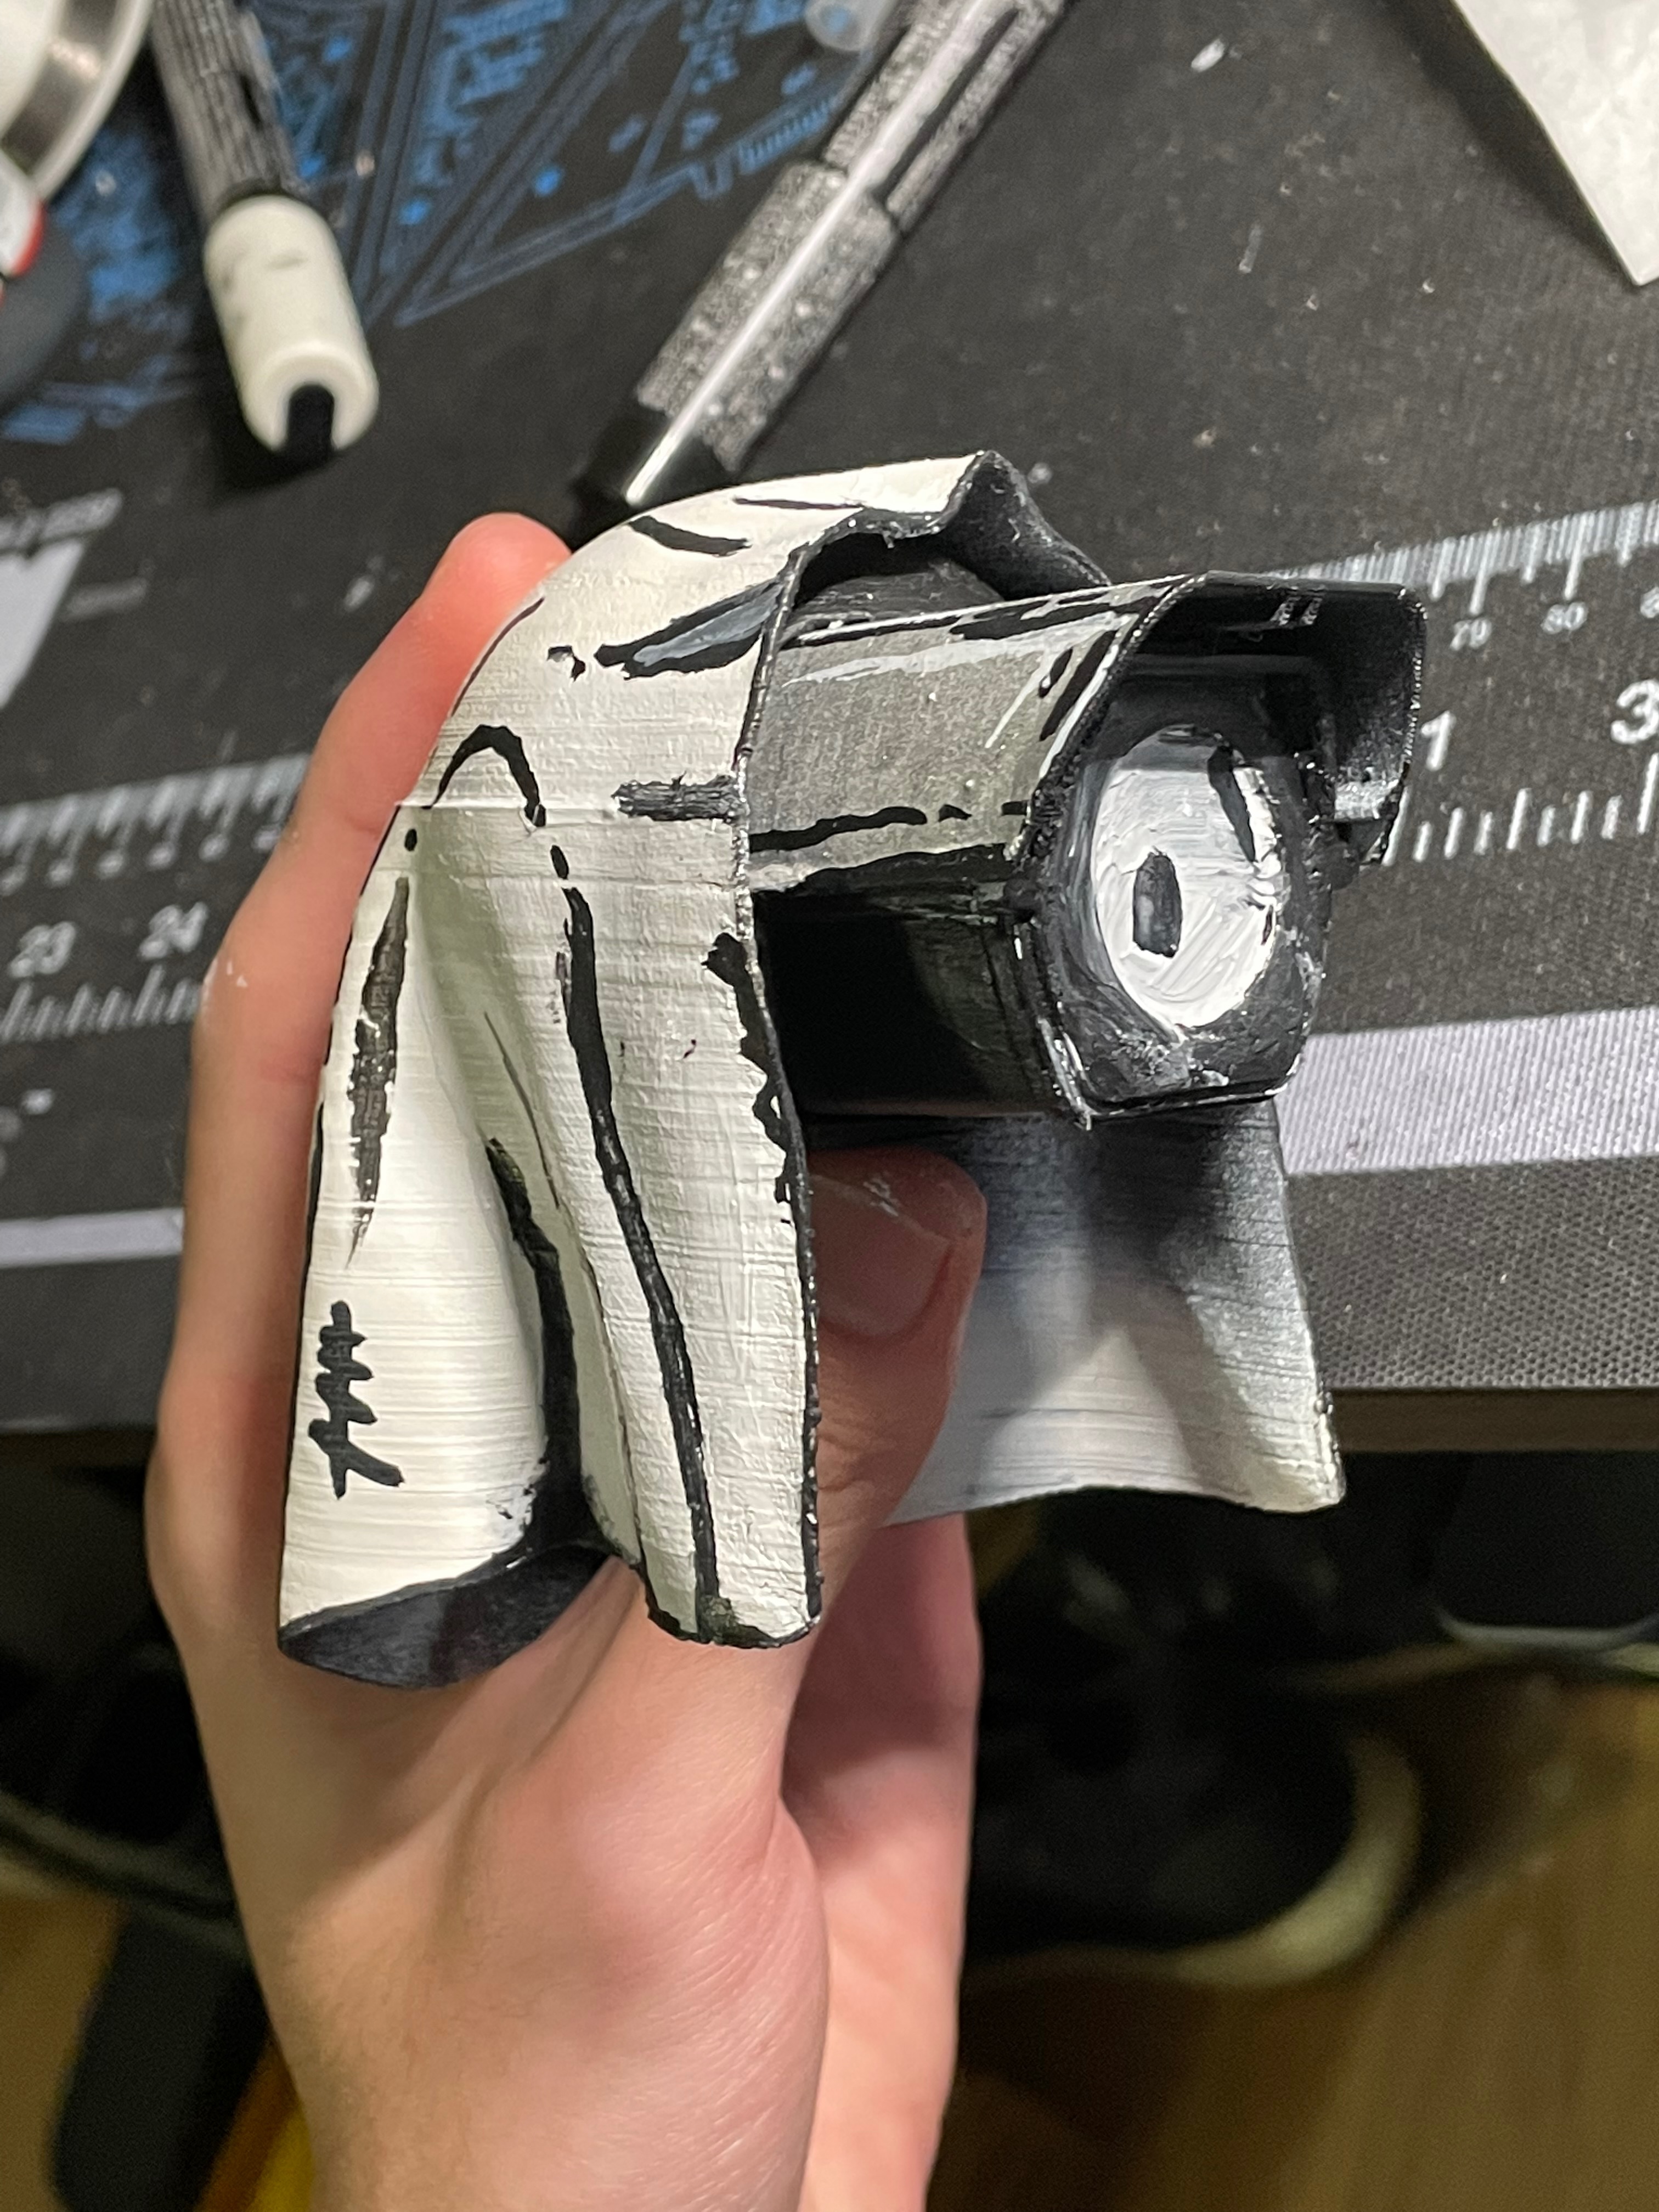
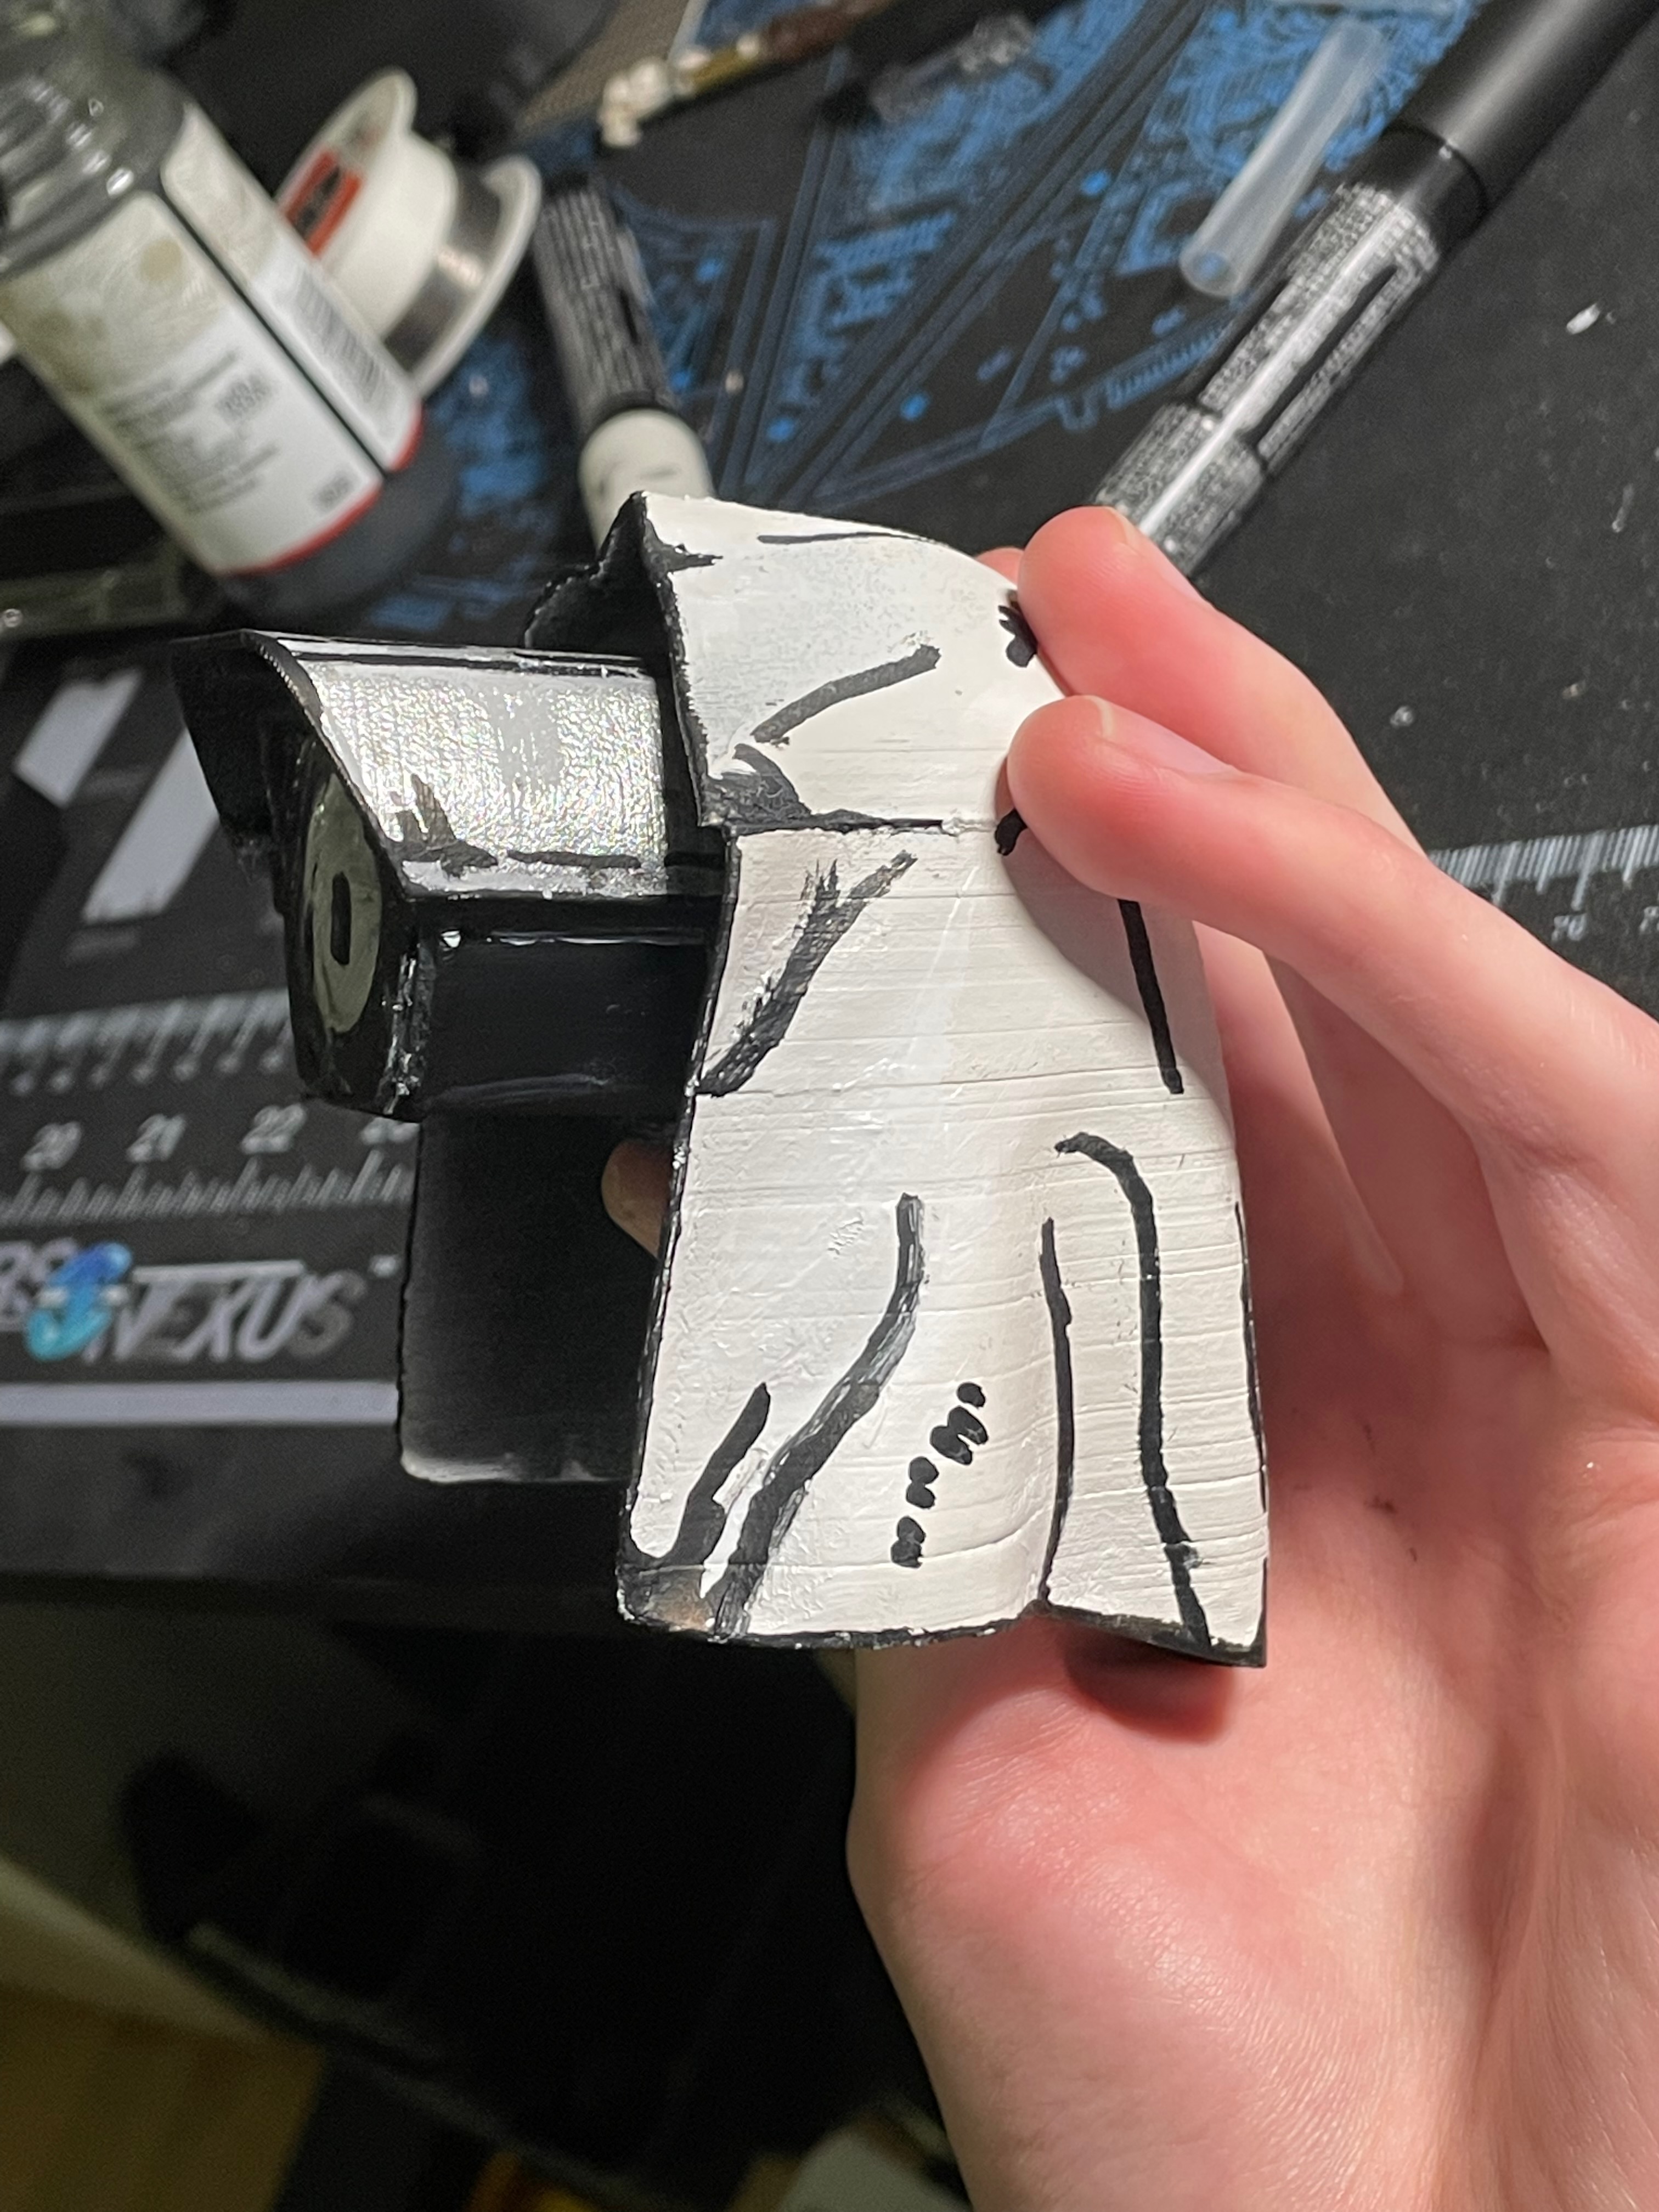
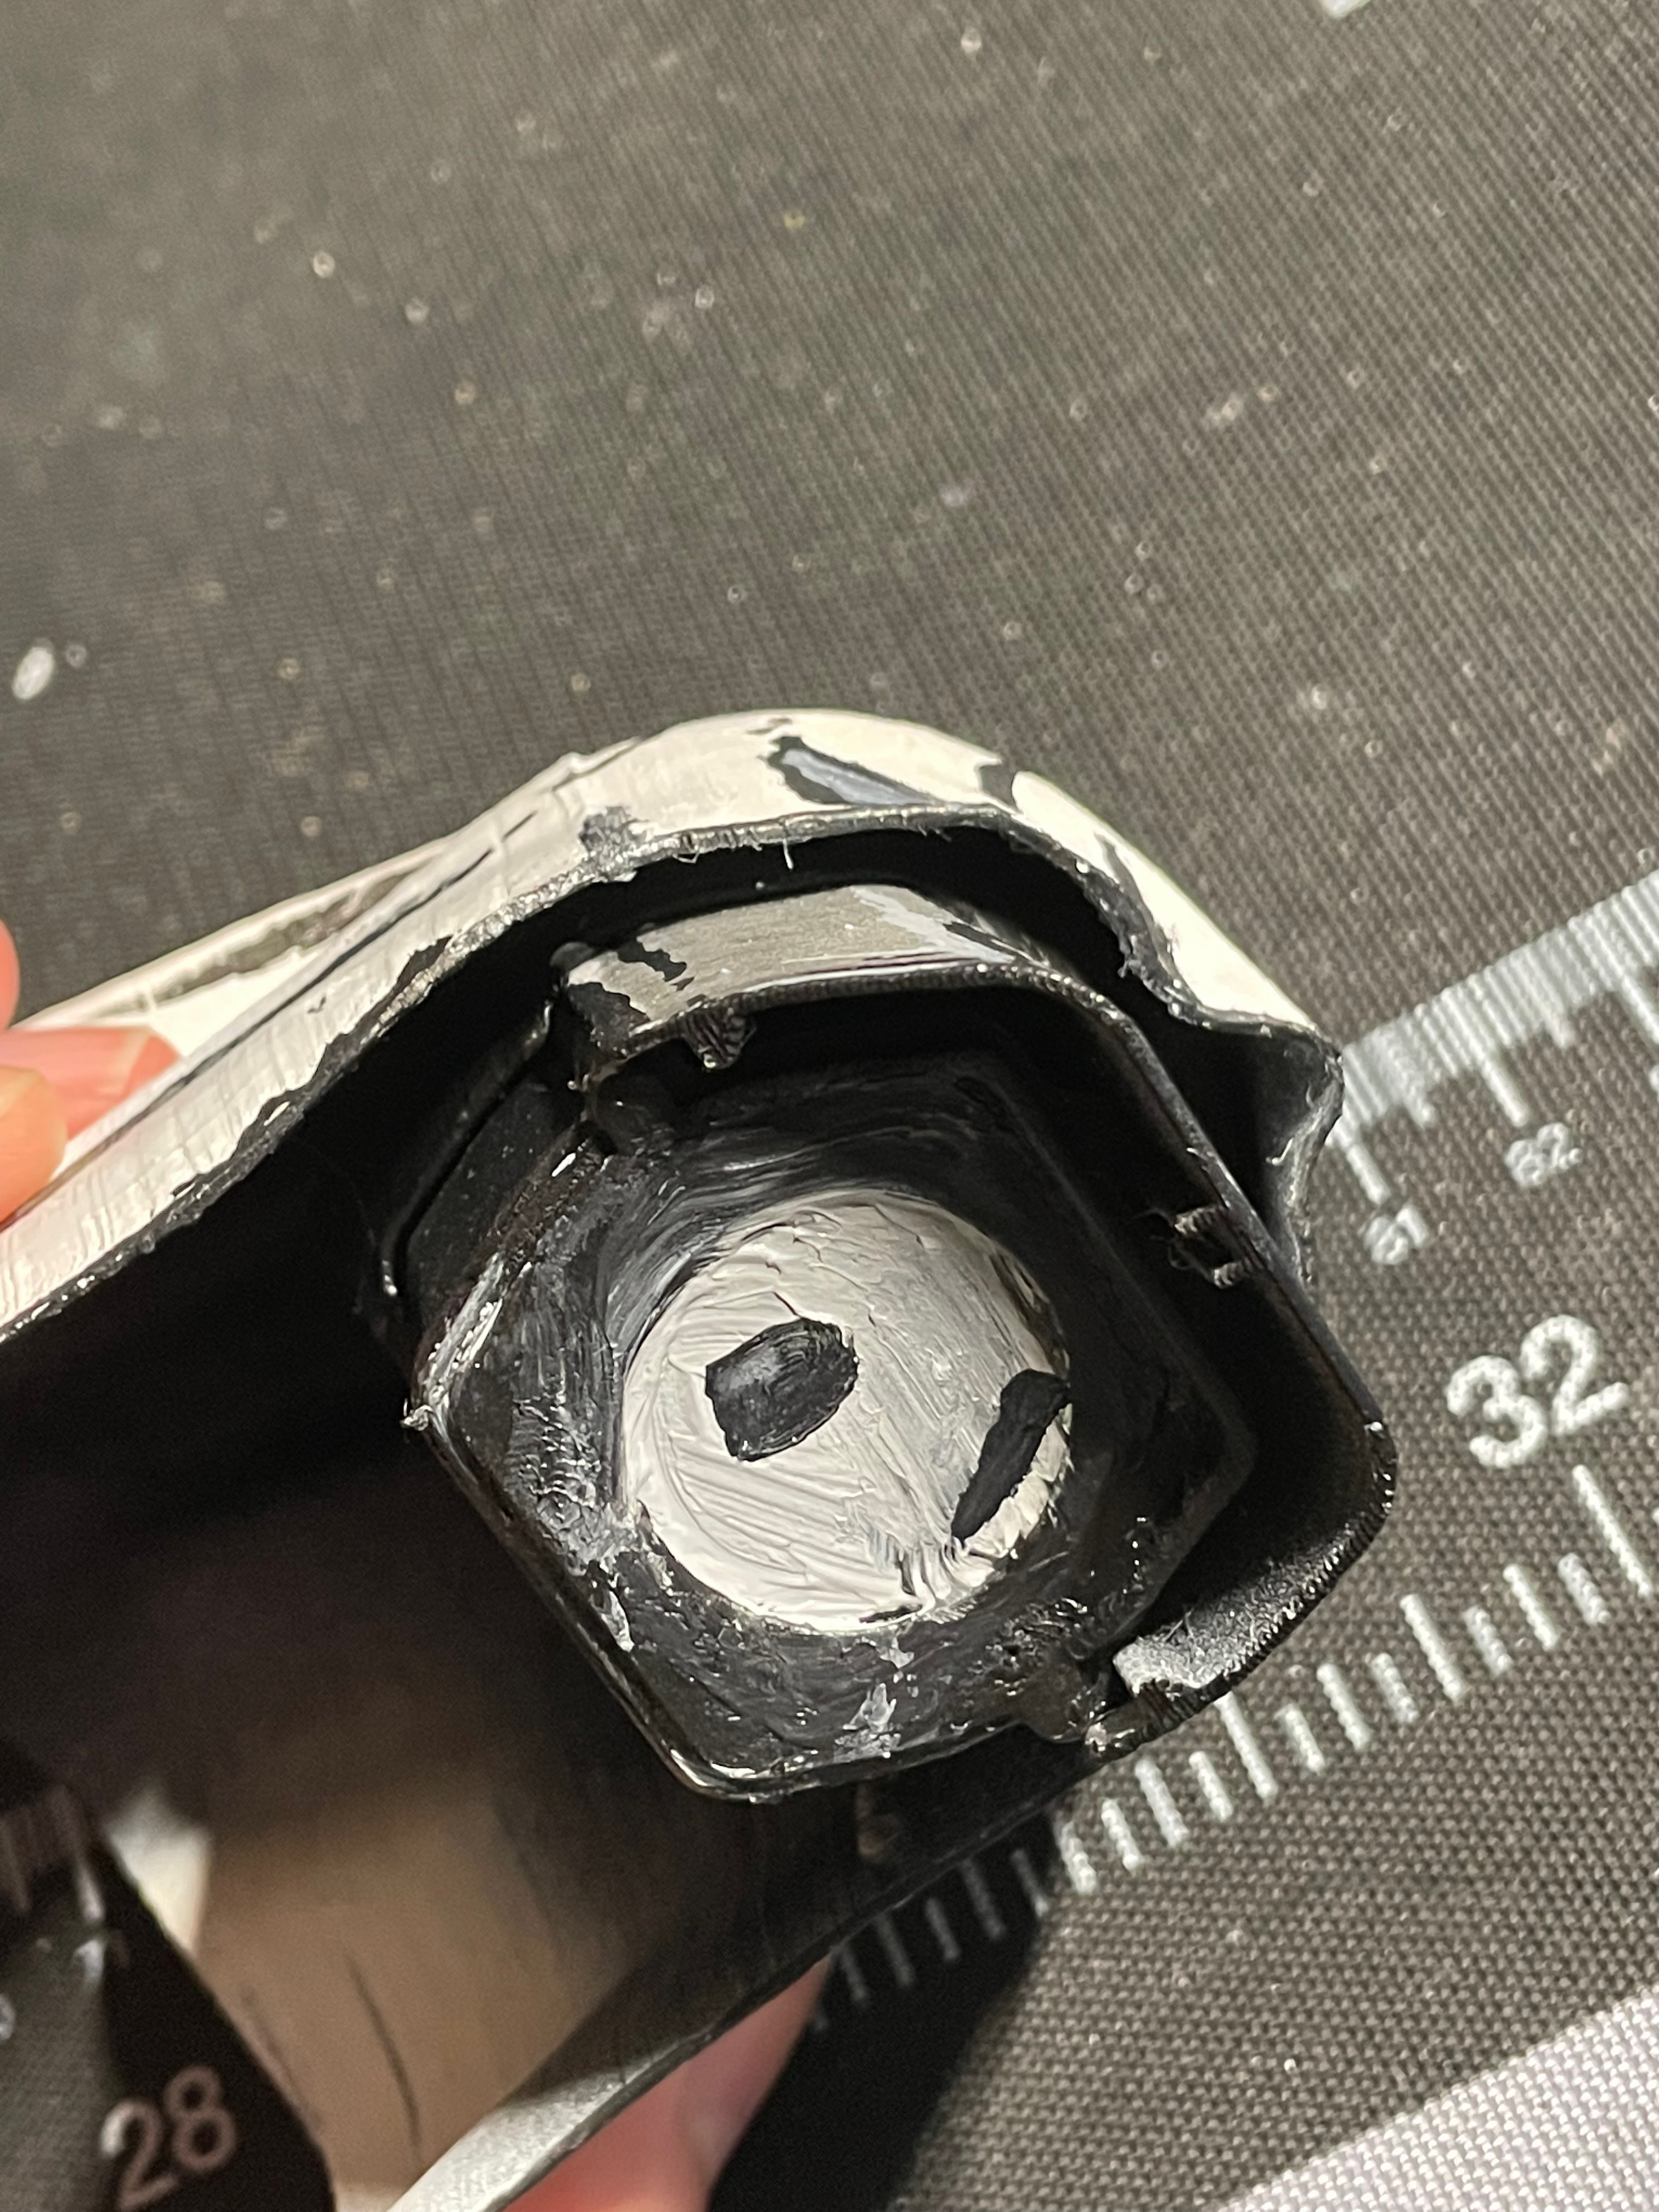
The lens, on the other hand, was quite the disaster... I'll just get some acrylic cabochons from Canal Plastics and stick one of those on there for the final one.

IMG_6115

WEEK 3

Material

I'm quite hell bent on 3D-printing my toy and I decided to try and print the cape on my Ender 3 at home, despite the geometry obviously not suitable for FDM printing.

To create the cape, I ended up not trusting my digital sculpting skills, made a rough flat shape, and slapped a cloth modifier to it in Blender. The cape turned out okay with some nice folds and creases.

cape-blender

Then I imported the model back into Fusion 360 and made a flat cut and split the cape in two so that hopefully I can get flat edges for the model to sit on the build plate.

In the end there is quite a visible seam between the two pieces, because of, I believe, mainly the elephant foot effect, and secondly the two-line walls bending(and delaminating) really easily. It might be a better idea to print the whole thing in one piece with SLS or SLA, although that's for another day.

fusion-cape-split

All the other pieces printed just fine since they're mostly straight lines and clean shapes.

IMG_6100

WEEK 2

Cracks under pressure

I really liked the little ghost surveillance camera I made in class last time, the image of which has been on my mind for quite some time. For the sculpture I wanted to try a mixture of clay and 3D printing and incorporate some electronic elements to give it some life.

It all began with experiments with the animated electronic eyes code from Adafruit to no avail, probably due to some issues with my choice of microcontrollers. So I promptly pivoted to a simple bitmap of pulsating brightness, and designed the surveillance camera part around my existing hardware in Fusion 360.

image-20211117003132970

image-20211117003044681

At the rear the half sphere serves as the head for the "ghost cape" to go on. I certainly did not have a great experience with air-dr clay. It shapes not as terribly as I expected, but it also cracks non-stop during drying.

IMG_5983

IMG_5986

IMG_5996

The overall shape turned out okay I quite like the proportions if not a little too large. Although that's dictated by the electronics inside for this specific sculpture and could be altered for future ones. It might need a bit more detail as the surfaces look too flat and simple now.

IMG_5998

IMG_5999

And... it promptly self-destructed just as I got home. Also a look into the internals.

IMG_6002

IMG_6002

IMG_6005

WEEK 1

Twisted and Evil

Character Design

I took the horrendous abomination from the in-class exercise and attempted to make it ever so slightly less horrifying. I came up with the idea of the three bears twisted together as I did the same to some wires.’

signal-2021-11-09-111924_001

signal-2021-11-09-111924_001

Blank Modification

I continued the wire-connected-flowers idea with my blank and gave it a couple of quite creepy 3D-printed black flowers streaming out from its back.

20211109112914

20211109112920

20211109112930

20211109112925

20211109112936